Adding an Aliasdomain (Vhost) type domain in the ISPConfig control panel.
In this article, we will present the steps necessary to add an Aliasdomain Vhost type domain in the ISPConfig control panel, which will load from a directory associated with a Website (main domain).
Introduction
- This article will show you how to add a domain that will load a website from the root directory of the main domain.
- For example, it can be used for the domain hostico.test to load the content of a standalone site from a directory that is located in the root directory of the main domain hostico.net.
Requirements
- The administration details of the ISPConfig panel received in the email inbox associated with the Hostico account when the VPS was activated.
Steps to follow
- First, we will connect to the ISPConfig control panel using one of the access addresses: https://SERVERNAME:10200 or https://IP_SERVER:10200 or https://DOMAIN.XX:10200

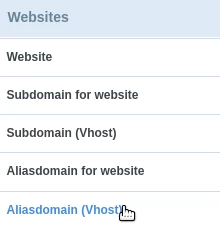
In the window that will appear, we select the Sites section
![]()
On the left side, we will click on Aliasdomain (VHost)
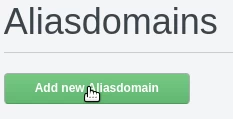
We will click the Add new Aliasdomain button
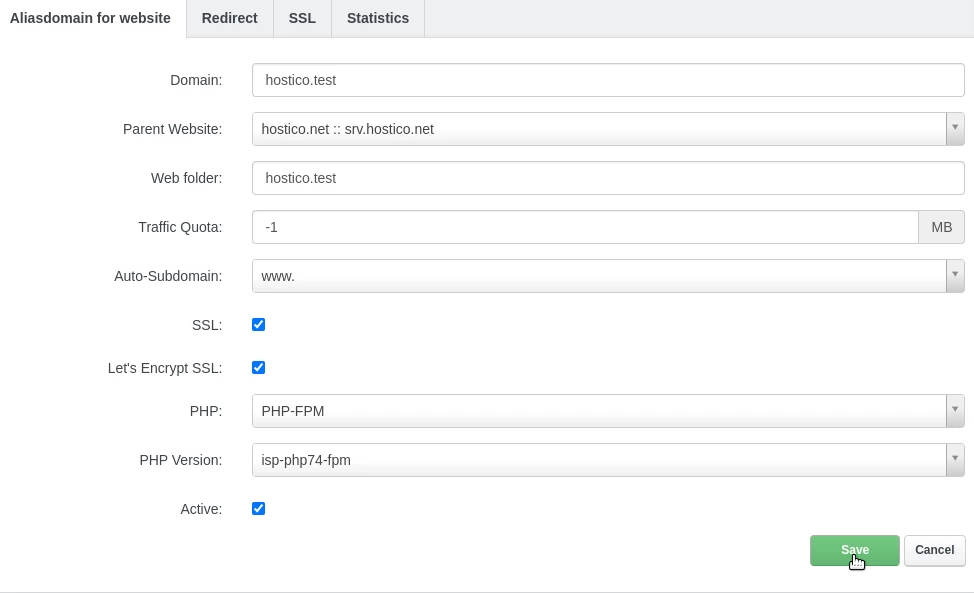
In the next window, we will complete the fields as follows:
-Domain: the name of the domain we want to host;
-Parent: in this field we will select the name of the main domain to which the above domain will be associated;
-Webfolder: the name of the directory from which the domain will load. The directory will be created automatically after adding the domain;
-Traffic quota: in this field we can specify the traffic limit associated with the domain if desired. For unlimited traffic, set the value to -1;
-Auto Subdomain: in this field, we specify whether or not we want automatic configuration of a www subdomain;
-SSL: leave checked for automatic generation of an SSL certificate;
-Let's Encrypt SSL: leave checked for automatic generation of an SSL certificate;
-PHP: leave selected php-fpm;
-PHP Version: select the PHP version that will be used by the domain;
-Active: leave checked if we want the domain to be configured and active/accessible;
To complete the setup, we will click on the Save button at the bottom of the page.