Tutorials • DNS
Setting the Time To Live (TTL) for a DNS zone using WHM
Learn how to set Time To Live (TTL) for a DNS zone using WHM. Step by step guide for managing DNS records efficiently.
Views 1159Updated 2 aniPublished on 26/09/2018by Sebastian S.
Introduction
- The DNS (Domain Name Service) converts human-readable domain names (e.g., example.com) to computer-readable IP addresses (e.g., 192.0.32.10). DNS relies on "DNS zones" that exist on the server to convert domain names to IP addresses.
- WHM offers the ability to set Time To Live (TTL) for a DNS zone through the DNS Functions features. TTL specifies how long a DNS server caches a DNS record before requesting an update from the authoritative name server, measured in seconds.
Requirements
- WHM login details. These can be found in the email with the management details of the reseller account or the VPS with cPanel/WHM.
Steps
- After logging into the WHM panel, on the left side of the page, we will go to the DNS Functions section and click on Set Zone Time To Live (TTL). Alternatively, we can search for this menu using the search field at the top left.

- On the next page, we will select the domain for which we want to make the changes. In the New TTL: field, we will set the desired TTL value in seconds. If we are using a DNS cluster (multiple synchronized nameservers), we can check the option Do not sync changes across the DNS cluster if we do not want the changes to sync across all nameservers.
- After completion, we will click on Set TTLs.

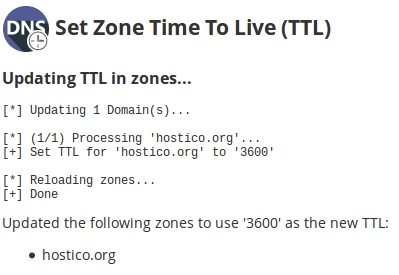
- If everything went smoothly, we will be greeted by a confirmation message in the form: