Tutorials • WHM
Activation of Greylisting in the WHM administration panel
Activating the greylisting option in WHM helps protect users from spam by temporarily rejecting emails from unknown senders. Find out the necessary steps!
Views 861Updated 1 anPublished on 25/11/2017by Florin P.
Introduction
- In this tutorial, we will show the necessary steps to activate the greylisting option in WHM.
- Greylisting protects email users against spam. When enabled, the email server will temporarily reject any email from a sender that the server does not recognize. If the email is legitimate, the originating server will try again after a delay. After a sufficient amount of time has passed, the server will accept the email.
Requirements
- Access to the WHM administration panel.
Steps
- After we log in to the WHM administration panel at https://numedomeniu.tld/whm, we will go to Email Address and click on Email Address.

- In the next page, we will click on Greylisting.
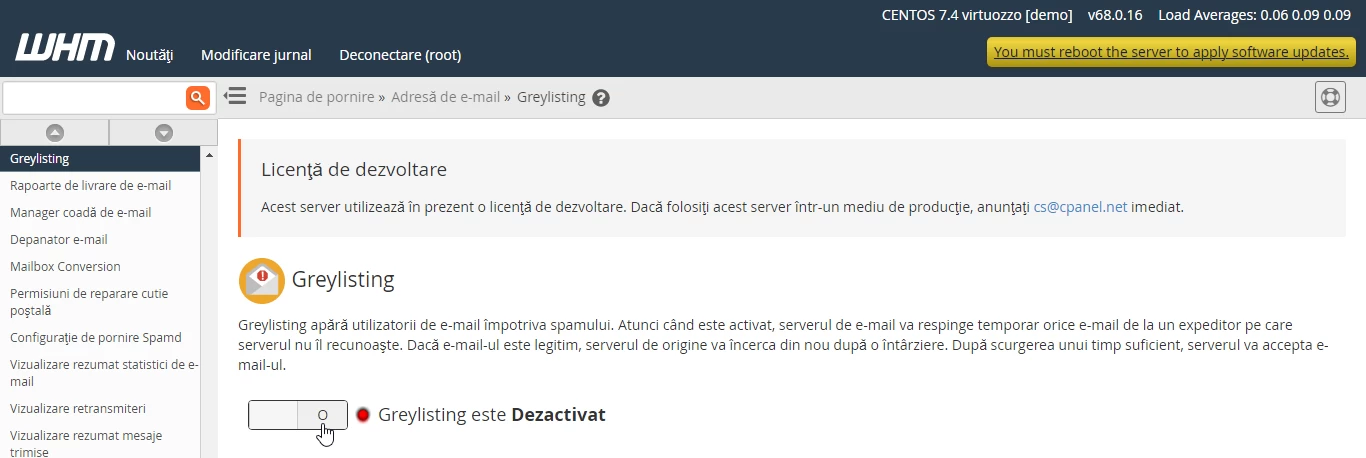
- To activate, we will click on the button in the previous image.
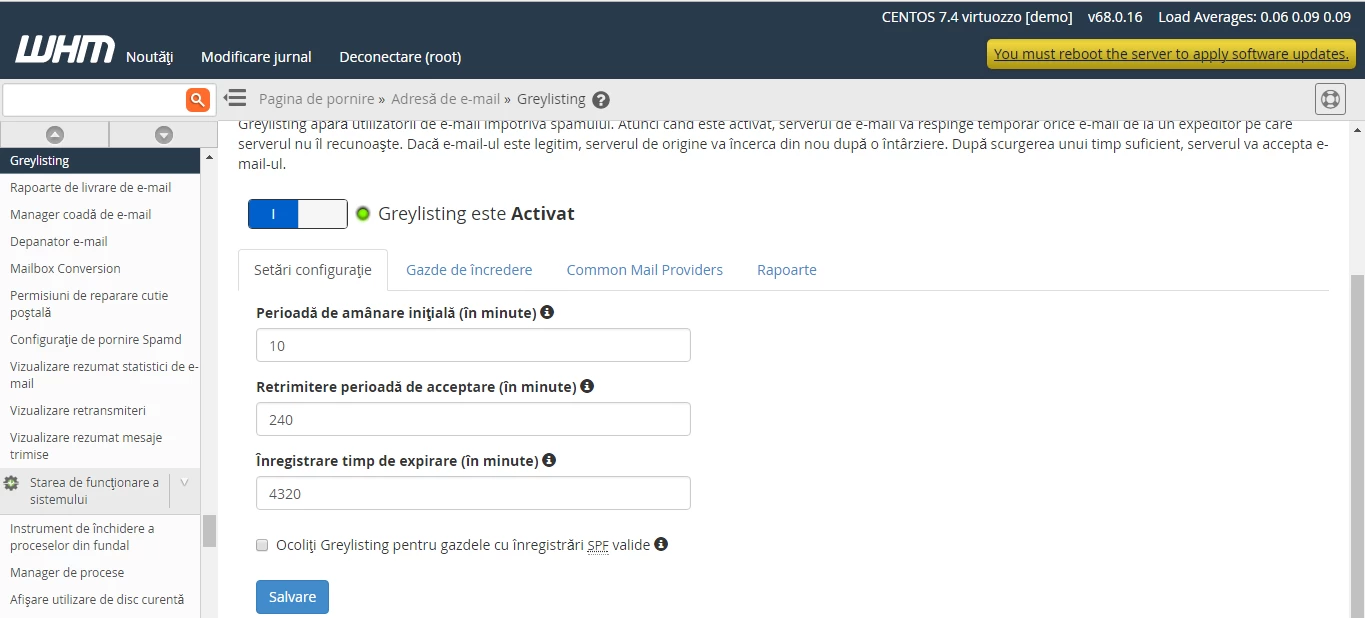
- After greylisting has been activated, we have access to its configuration settings.
- Configuration settings come with default values that can be modified by us later.
- In the next tab Trusted Hosts we can add IP addresses of senders that do not already exist in Common Mail Providers.
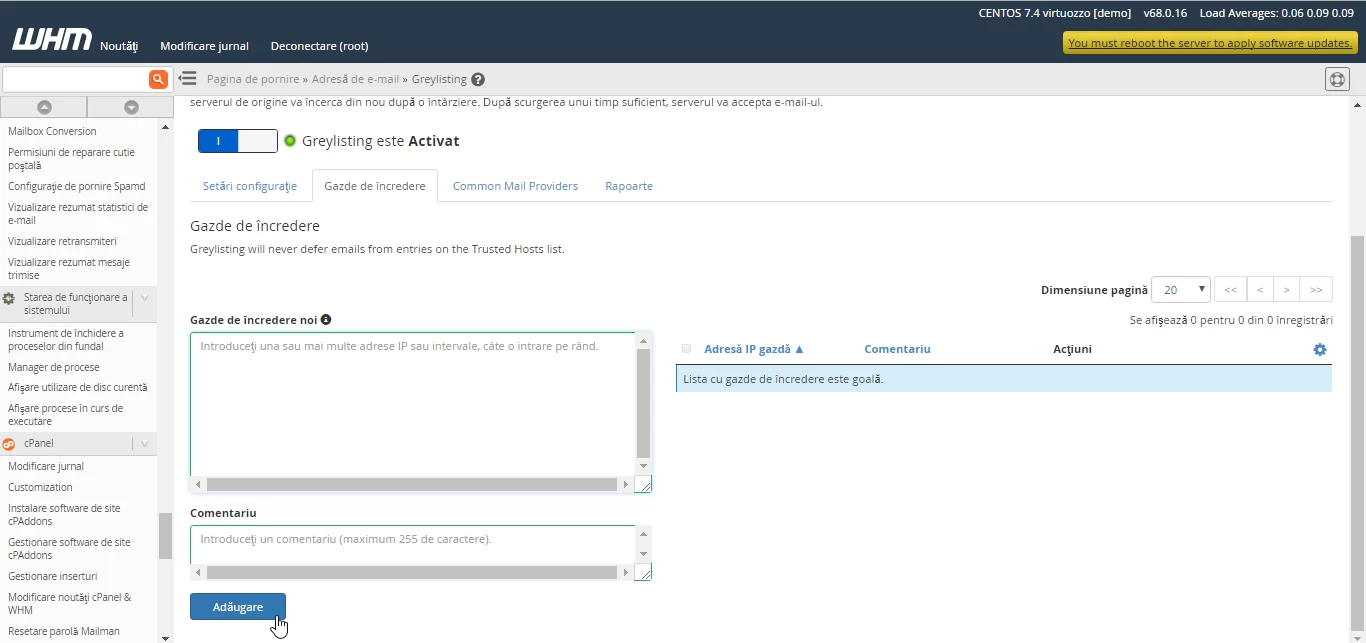
- The Common mail providers is a predefined list of senders whose emails will not be delayed in being received by the recipient's server.

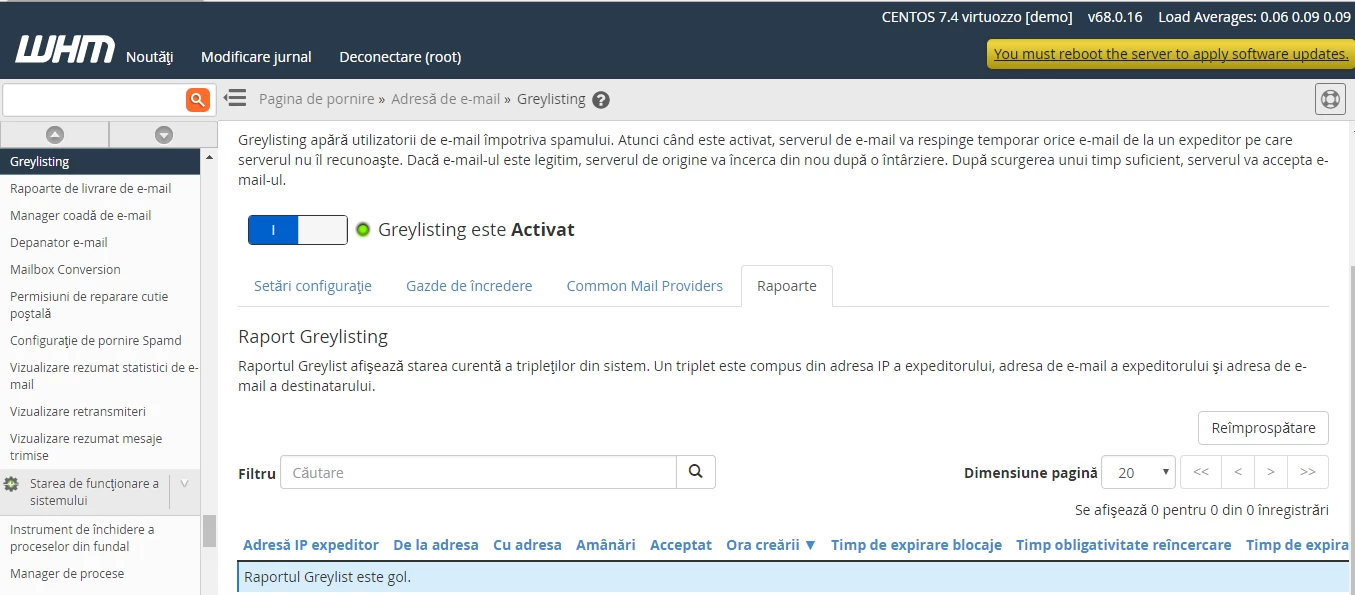
- In the Reports page, we will be able to see the current status of the triplets in the system. A triplet consists of the sender's IP address, the sender's email address, and the recipient's email address.