Tutorials • Apps
Automatically configuring an email account in Outlook on Android
In this tutorial, we will go through the necessary steps to configure an email inbox in the Outlook application on Android operating systems.
1
Views 1614Updated 1 anPublished on 11/06/2018by Sebastian S.
Introduction
- In the tutorial below, we will present the necessary steps to configure a mailbox in the Android Outlook application using the automatic method.
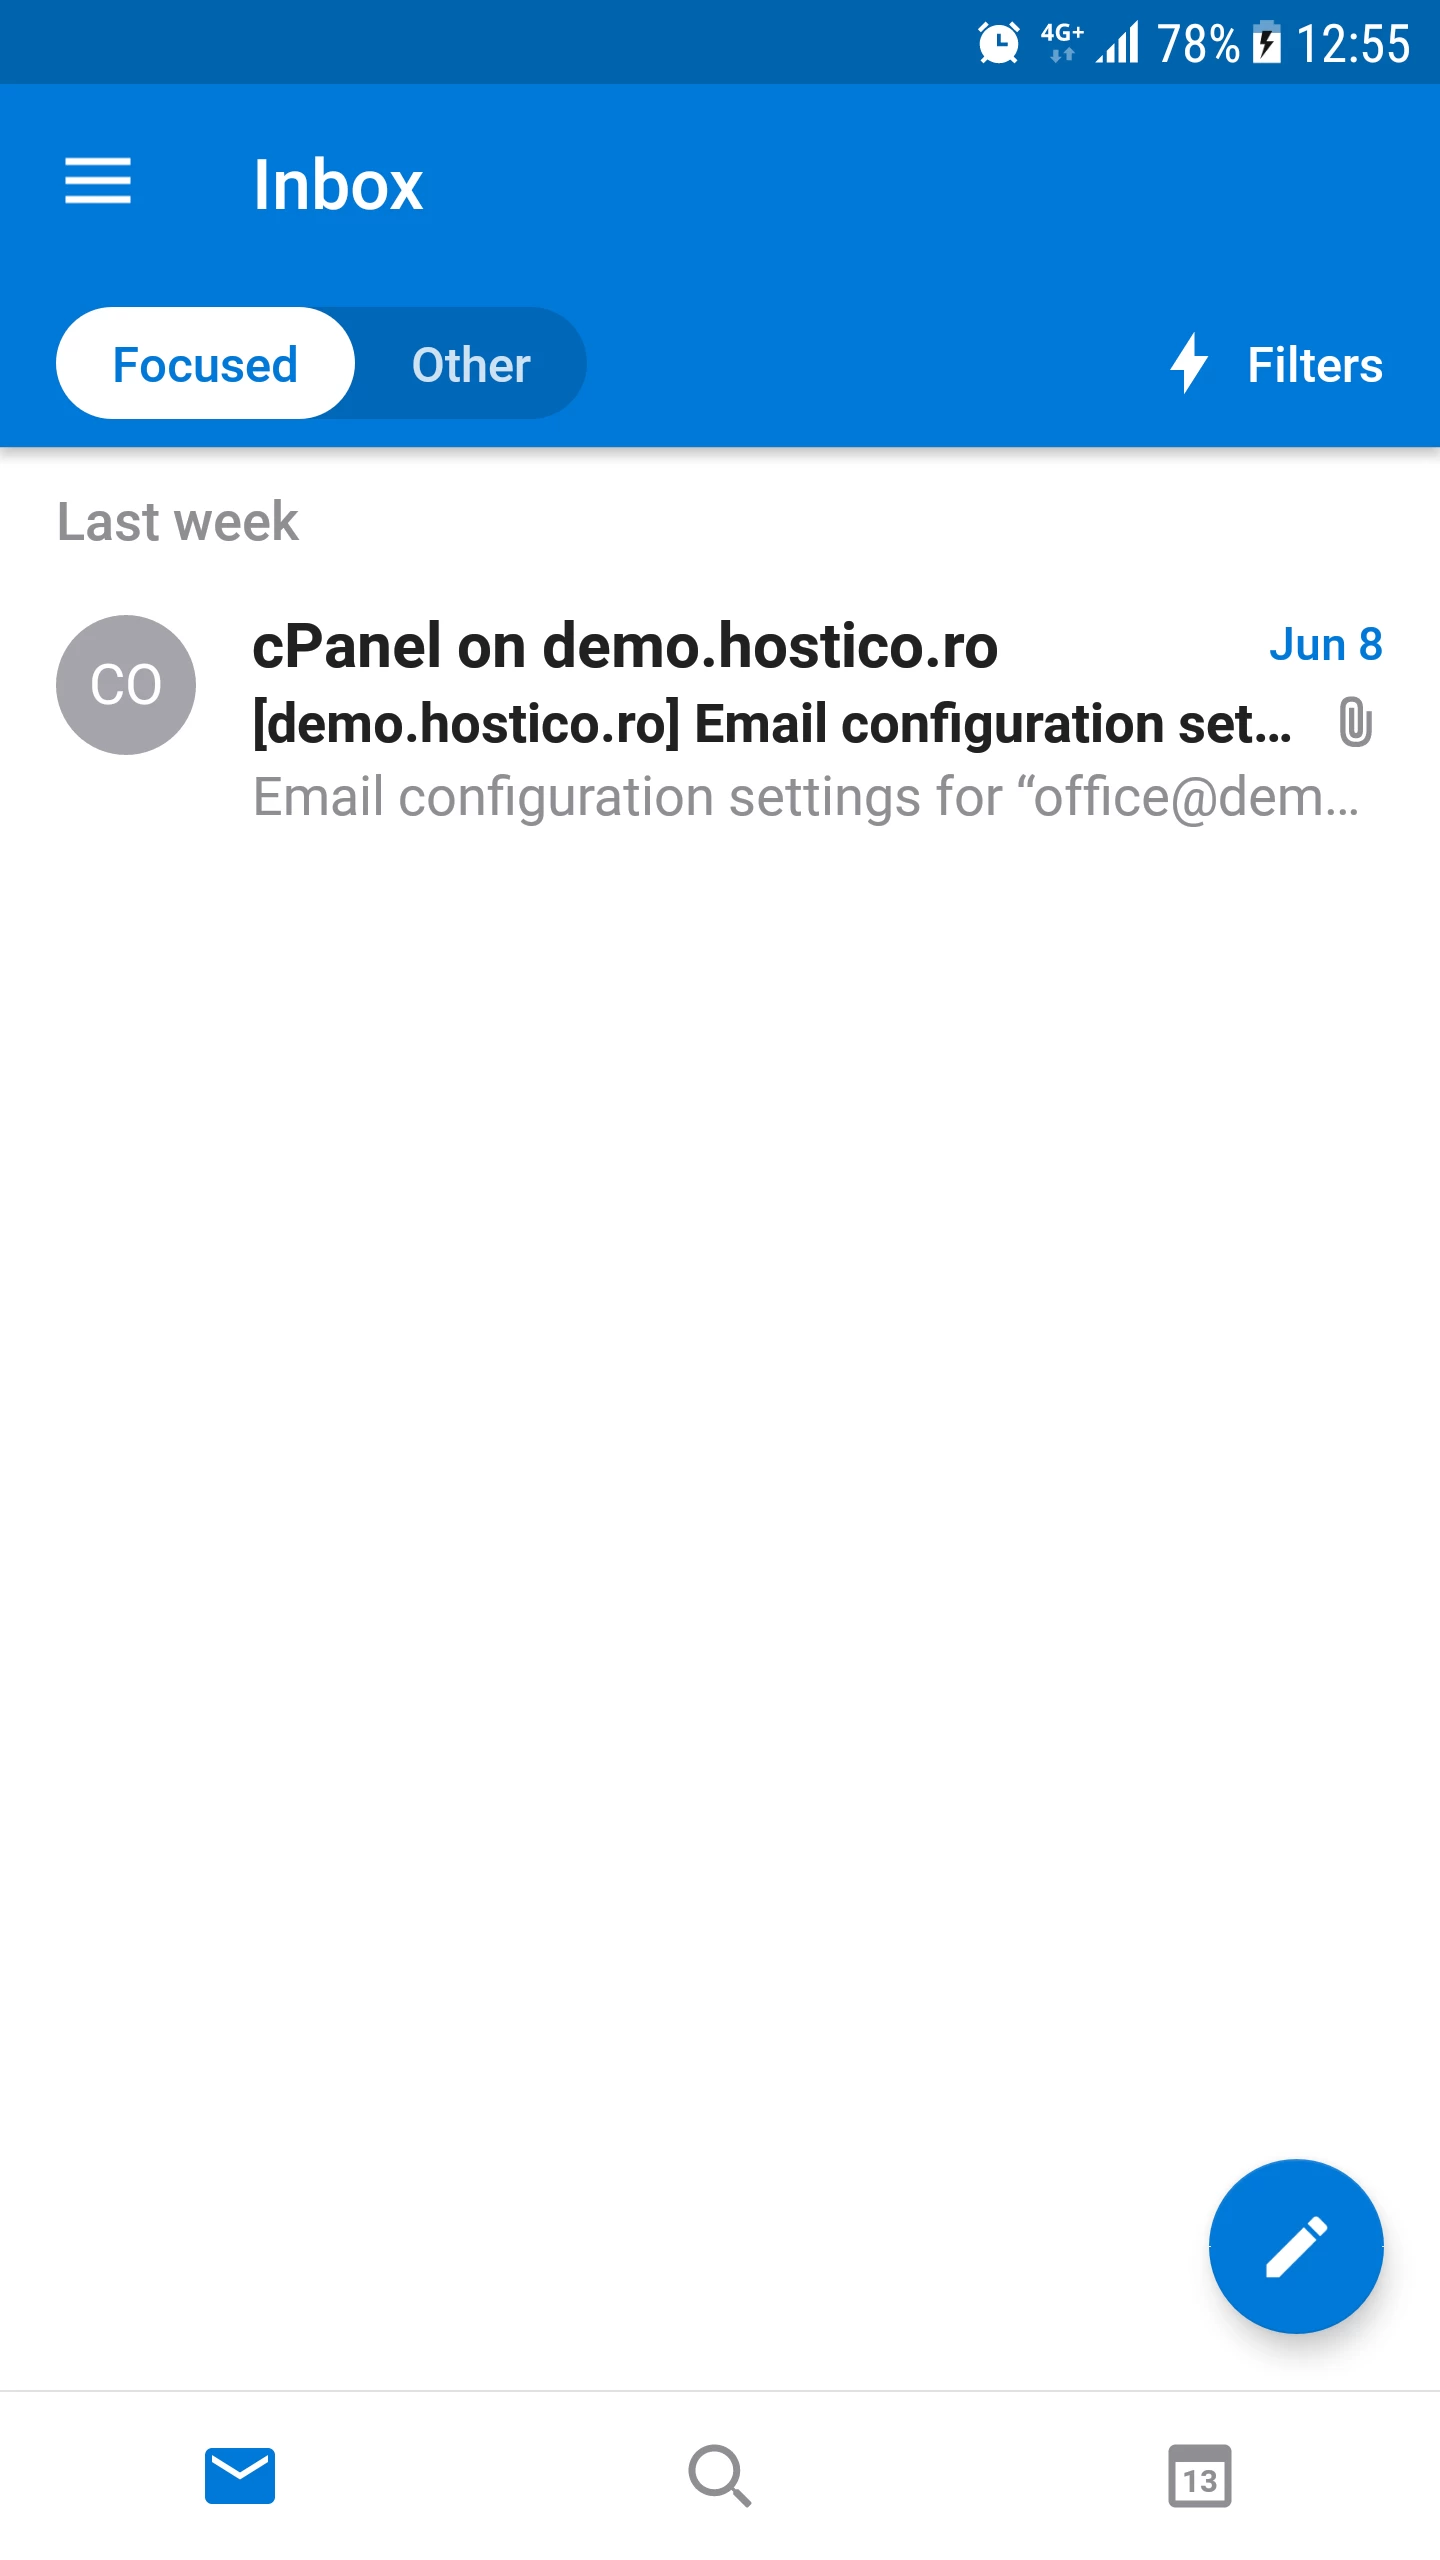
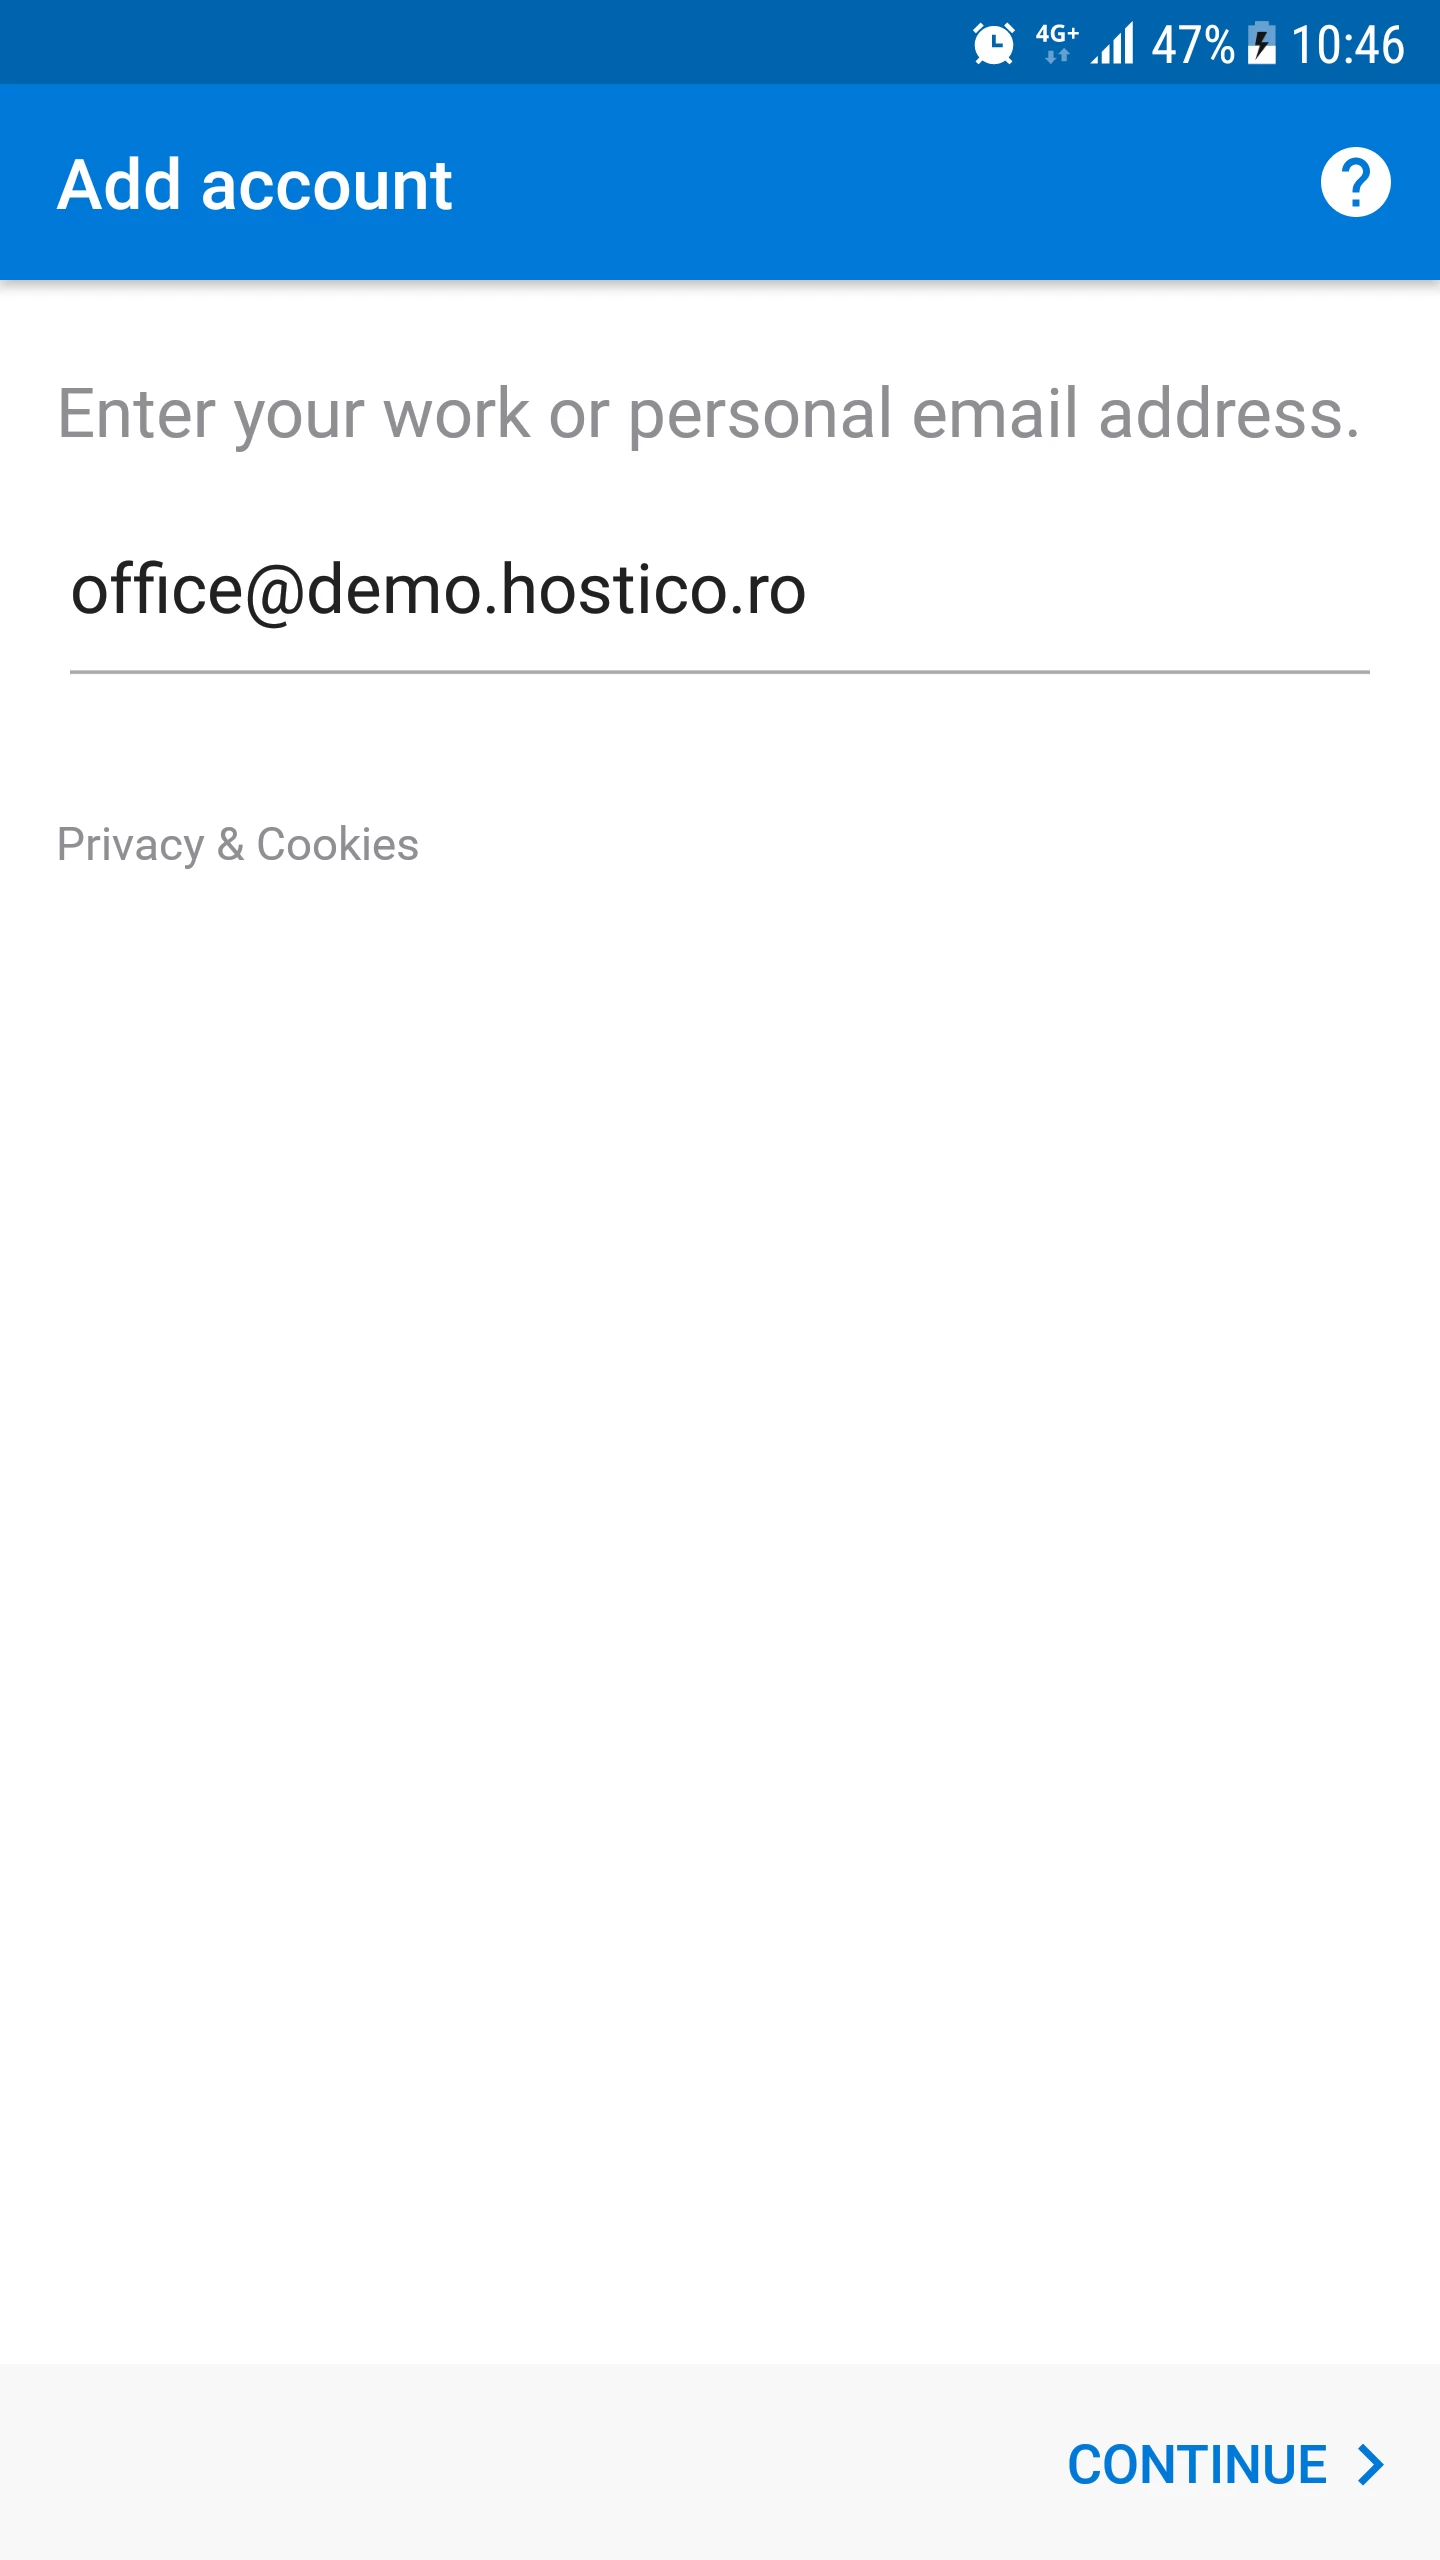
- We will use the mailbox office@demo.hostico.ro as a configuration example.
Requirements
- Email account login credentials.
- Outlook application installed on the smartphone.
Steps
- Open the Outlook application.
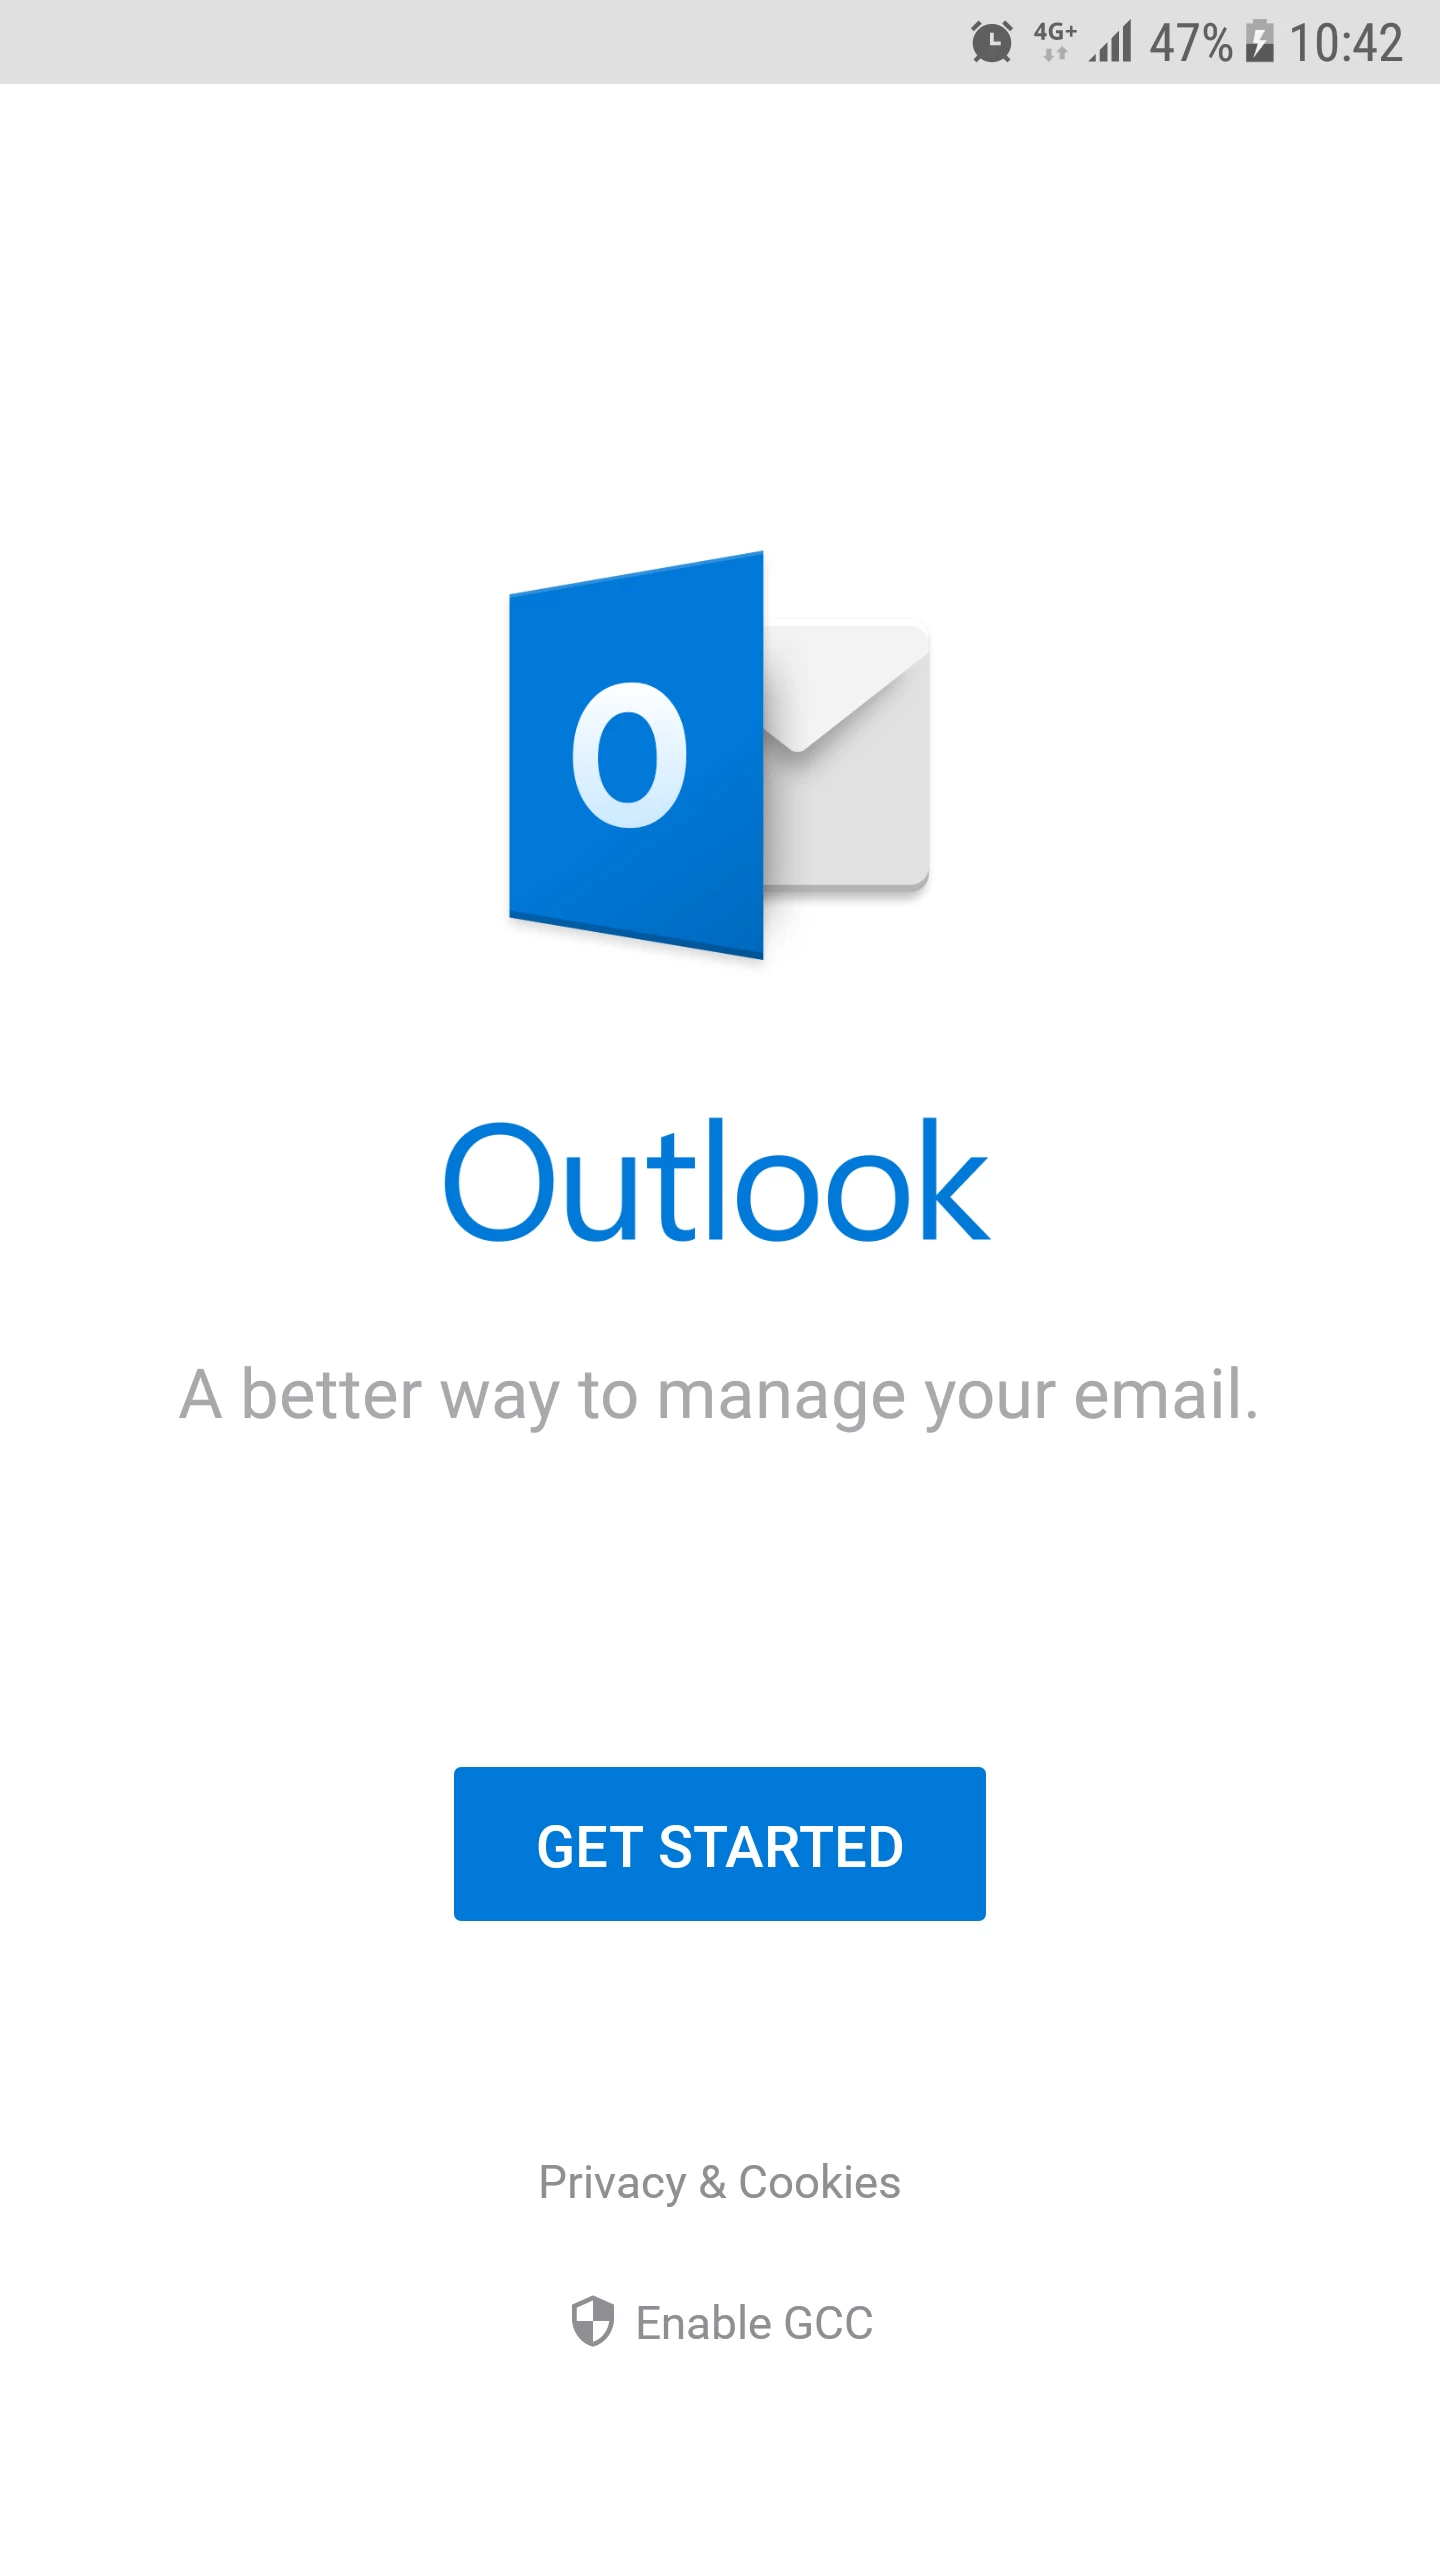
- We select Get Started.
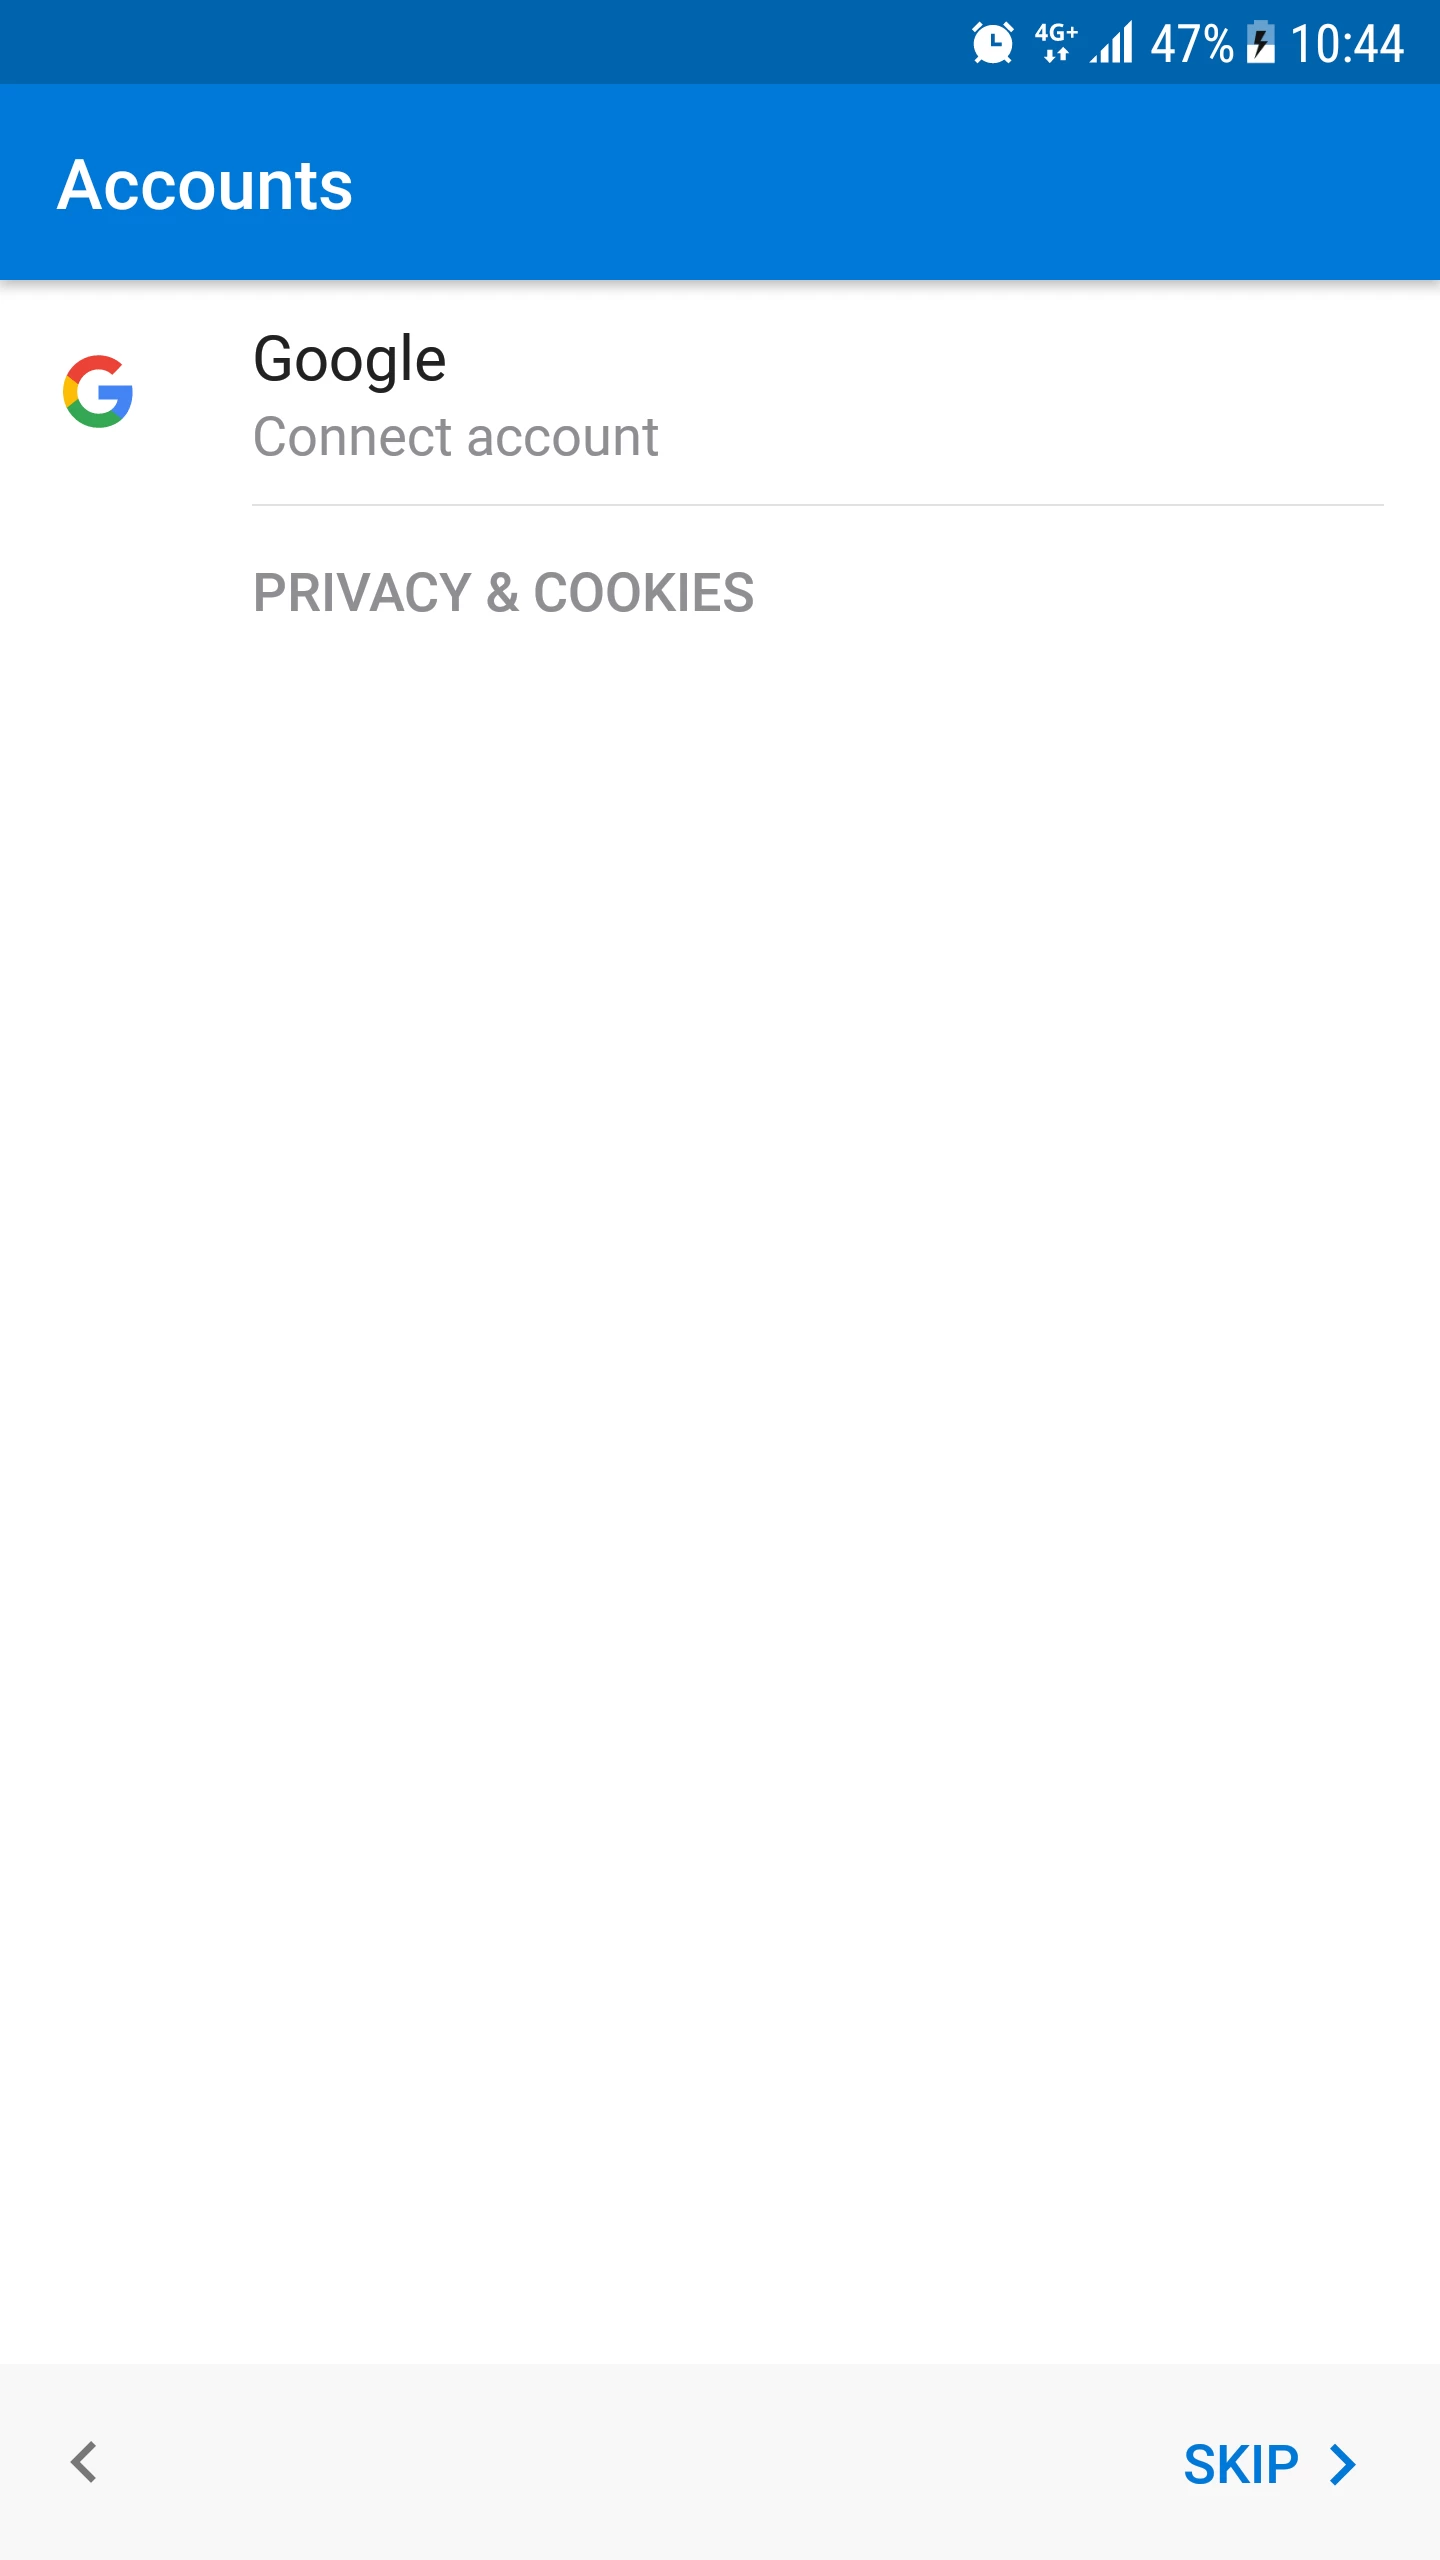
- We select Skip.
- We enter the email box in the field, then we press the Continue button.
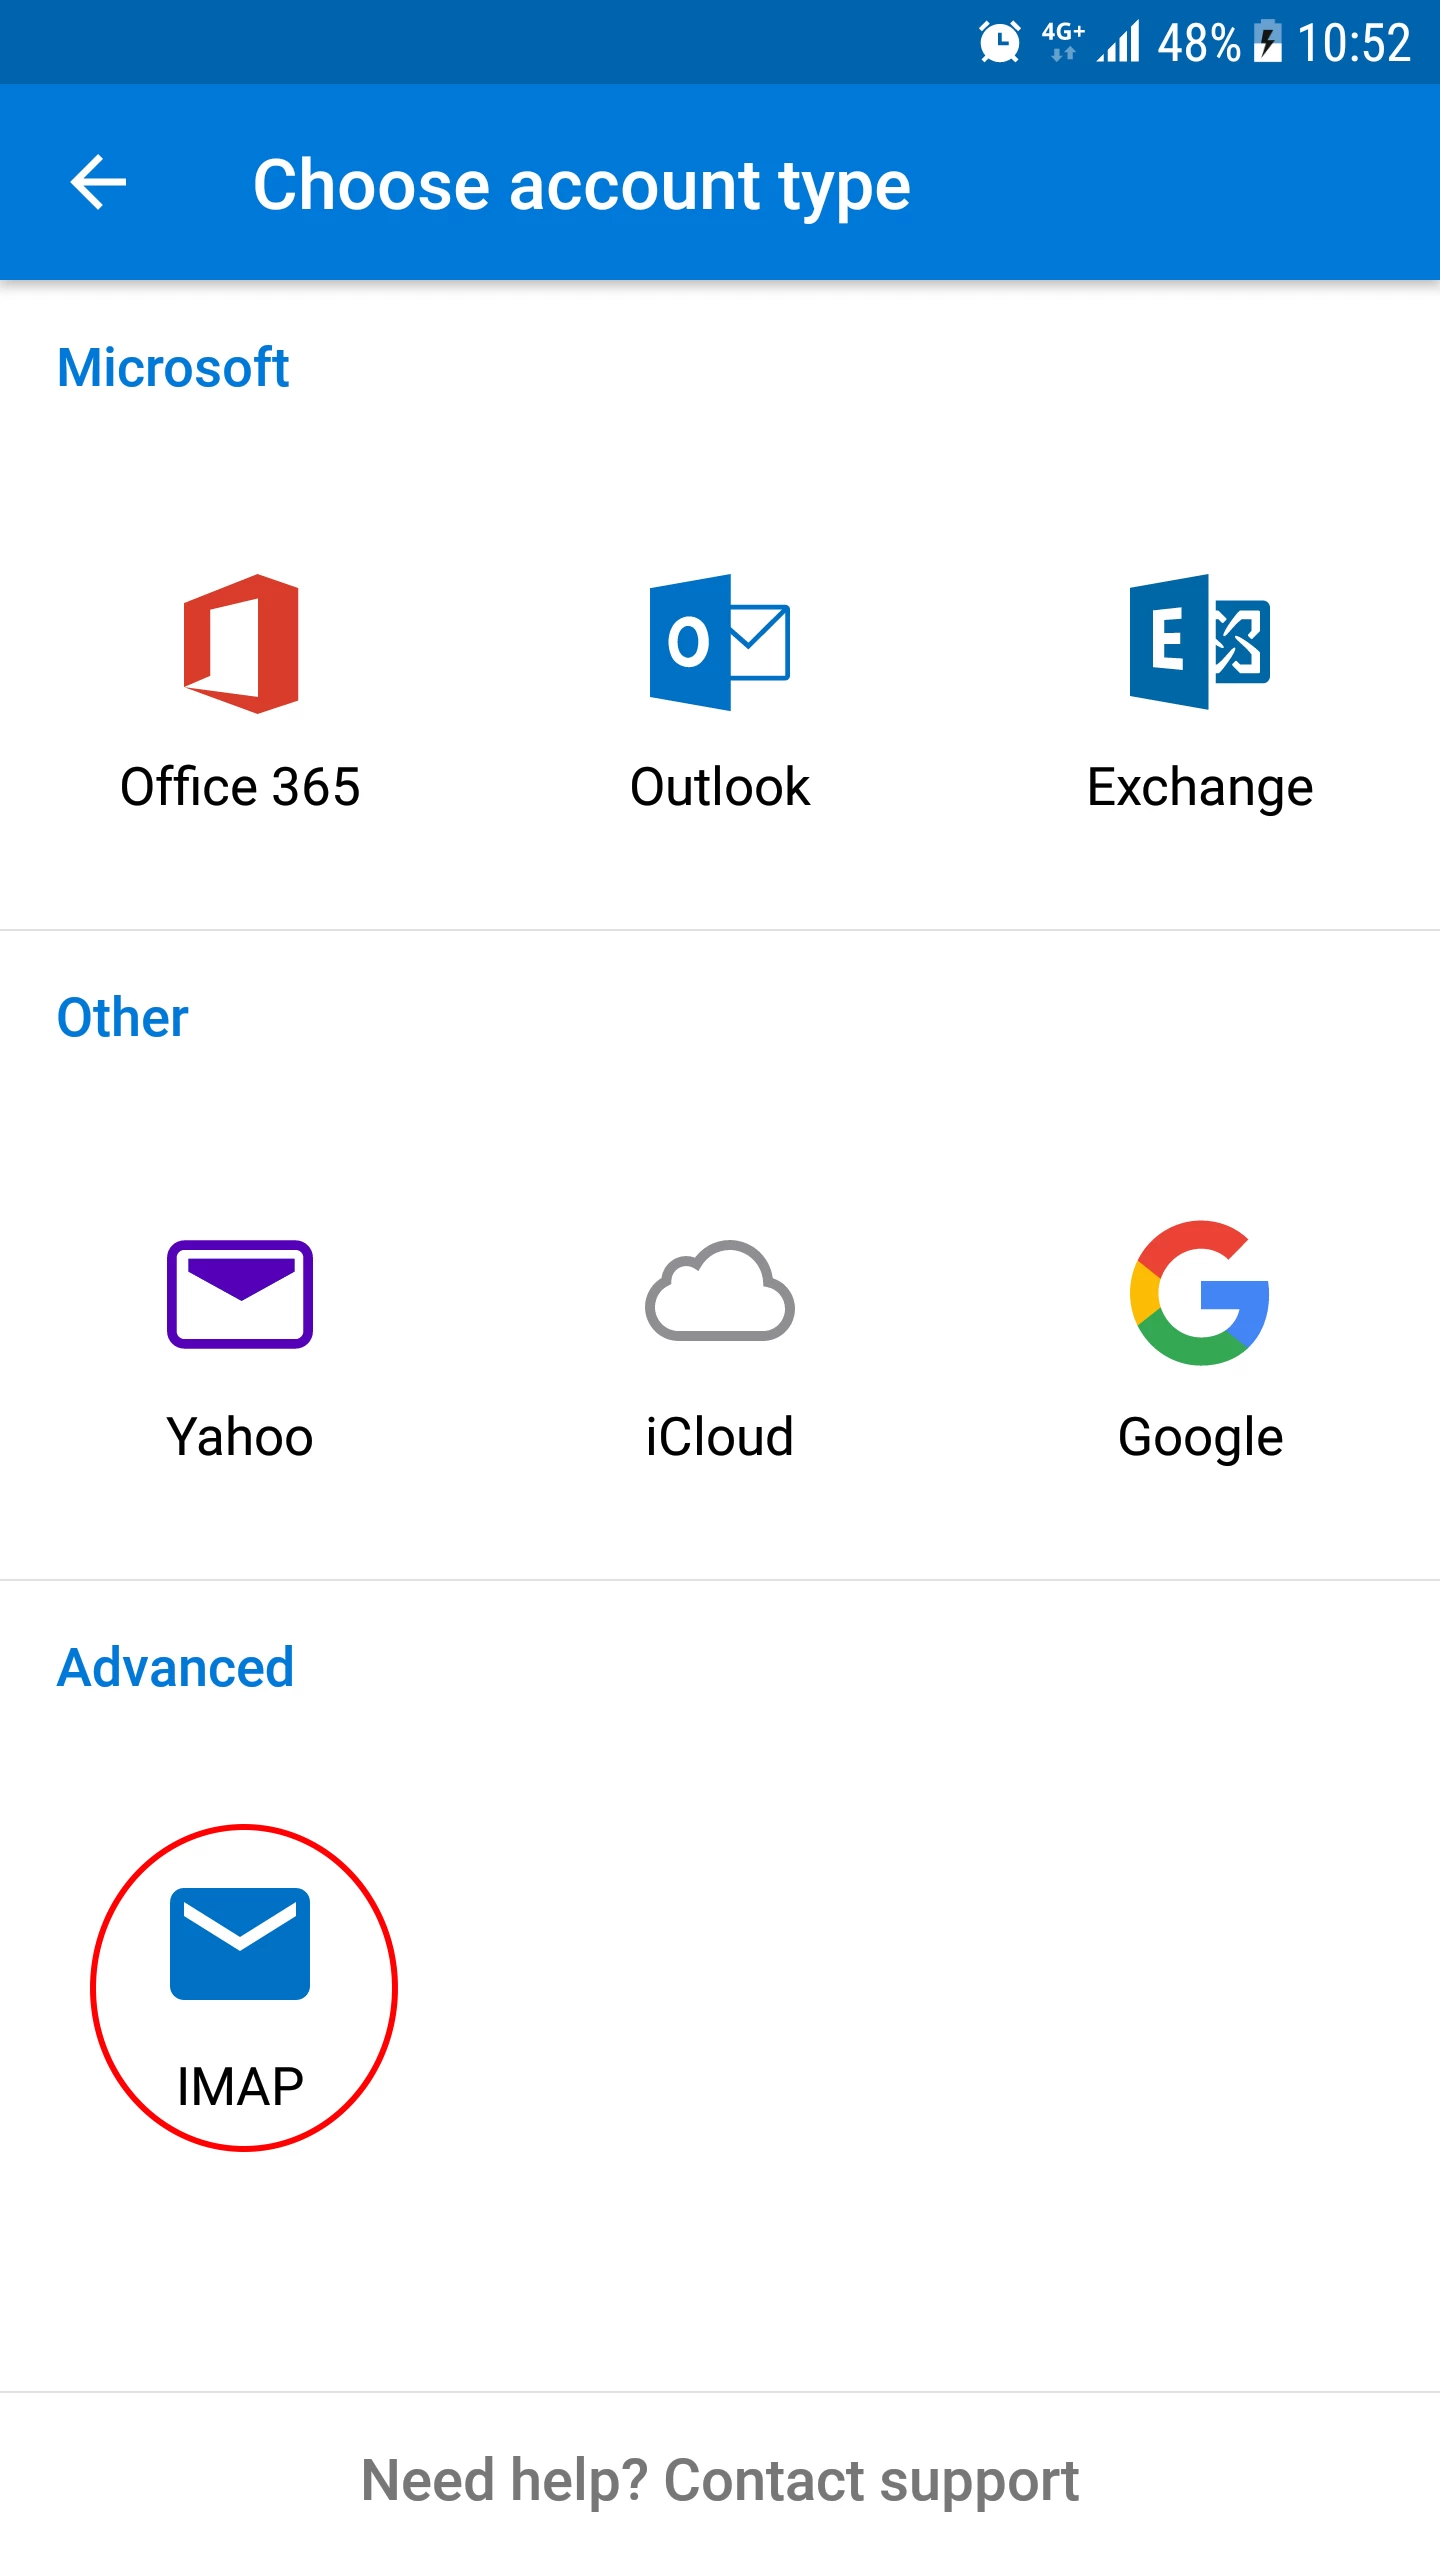
- In the next window, we will set the desired account type: Yahoo, Google, Microsoft Exchange, IMAP, etc. To configure an email box hosted on Hostico servers, we will select the IMAP option.
***Optional Steps***
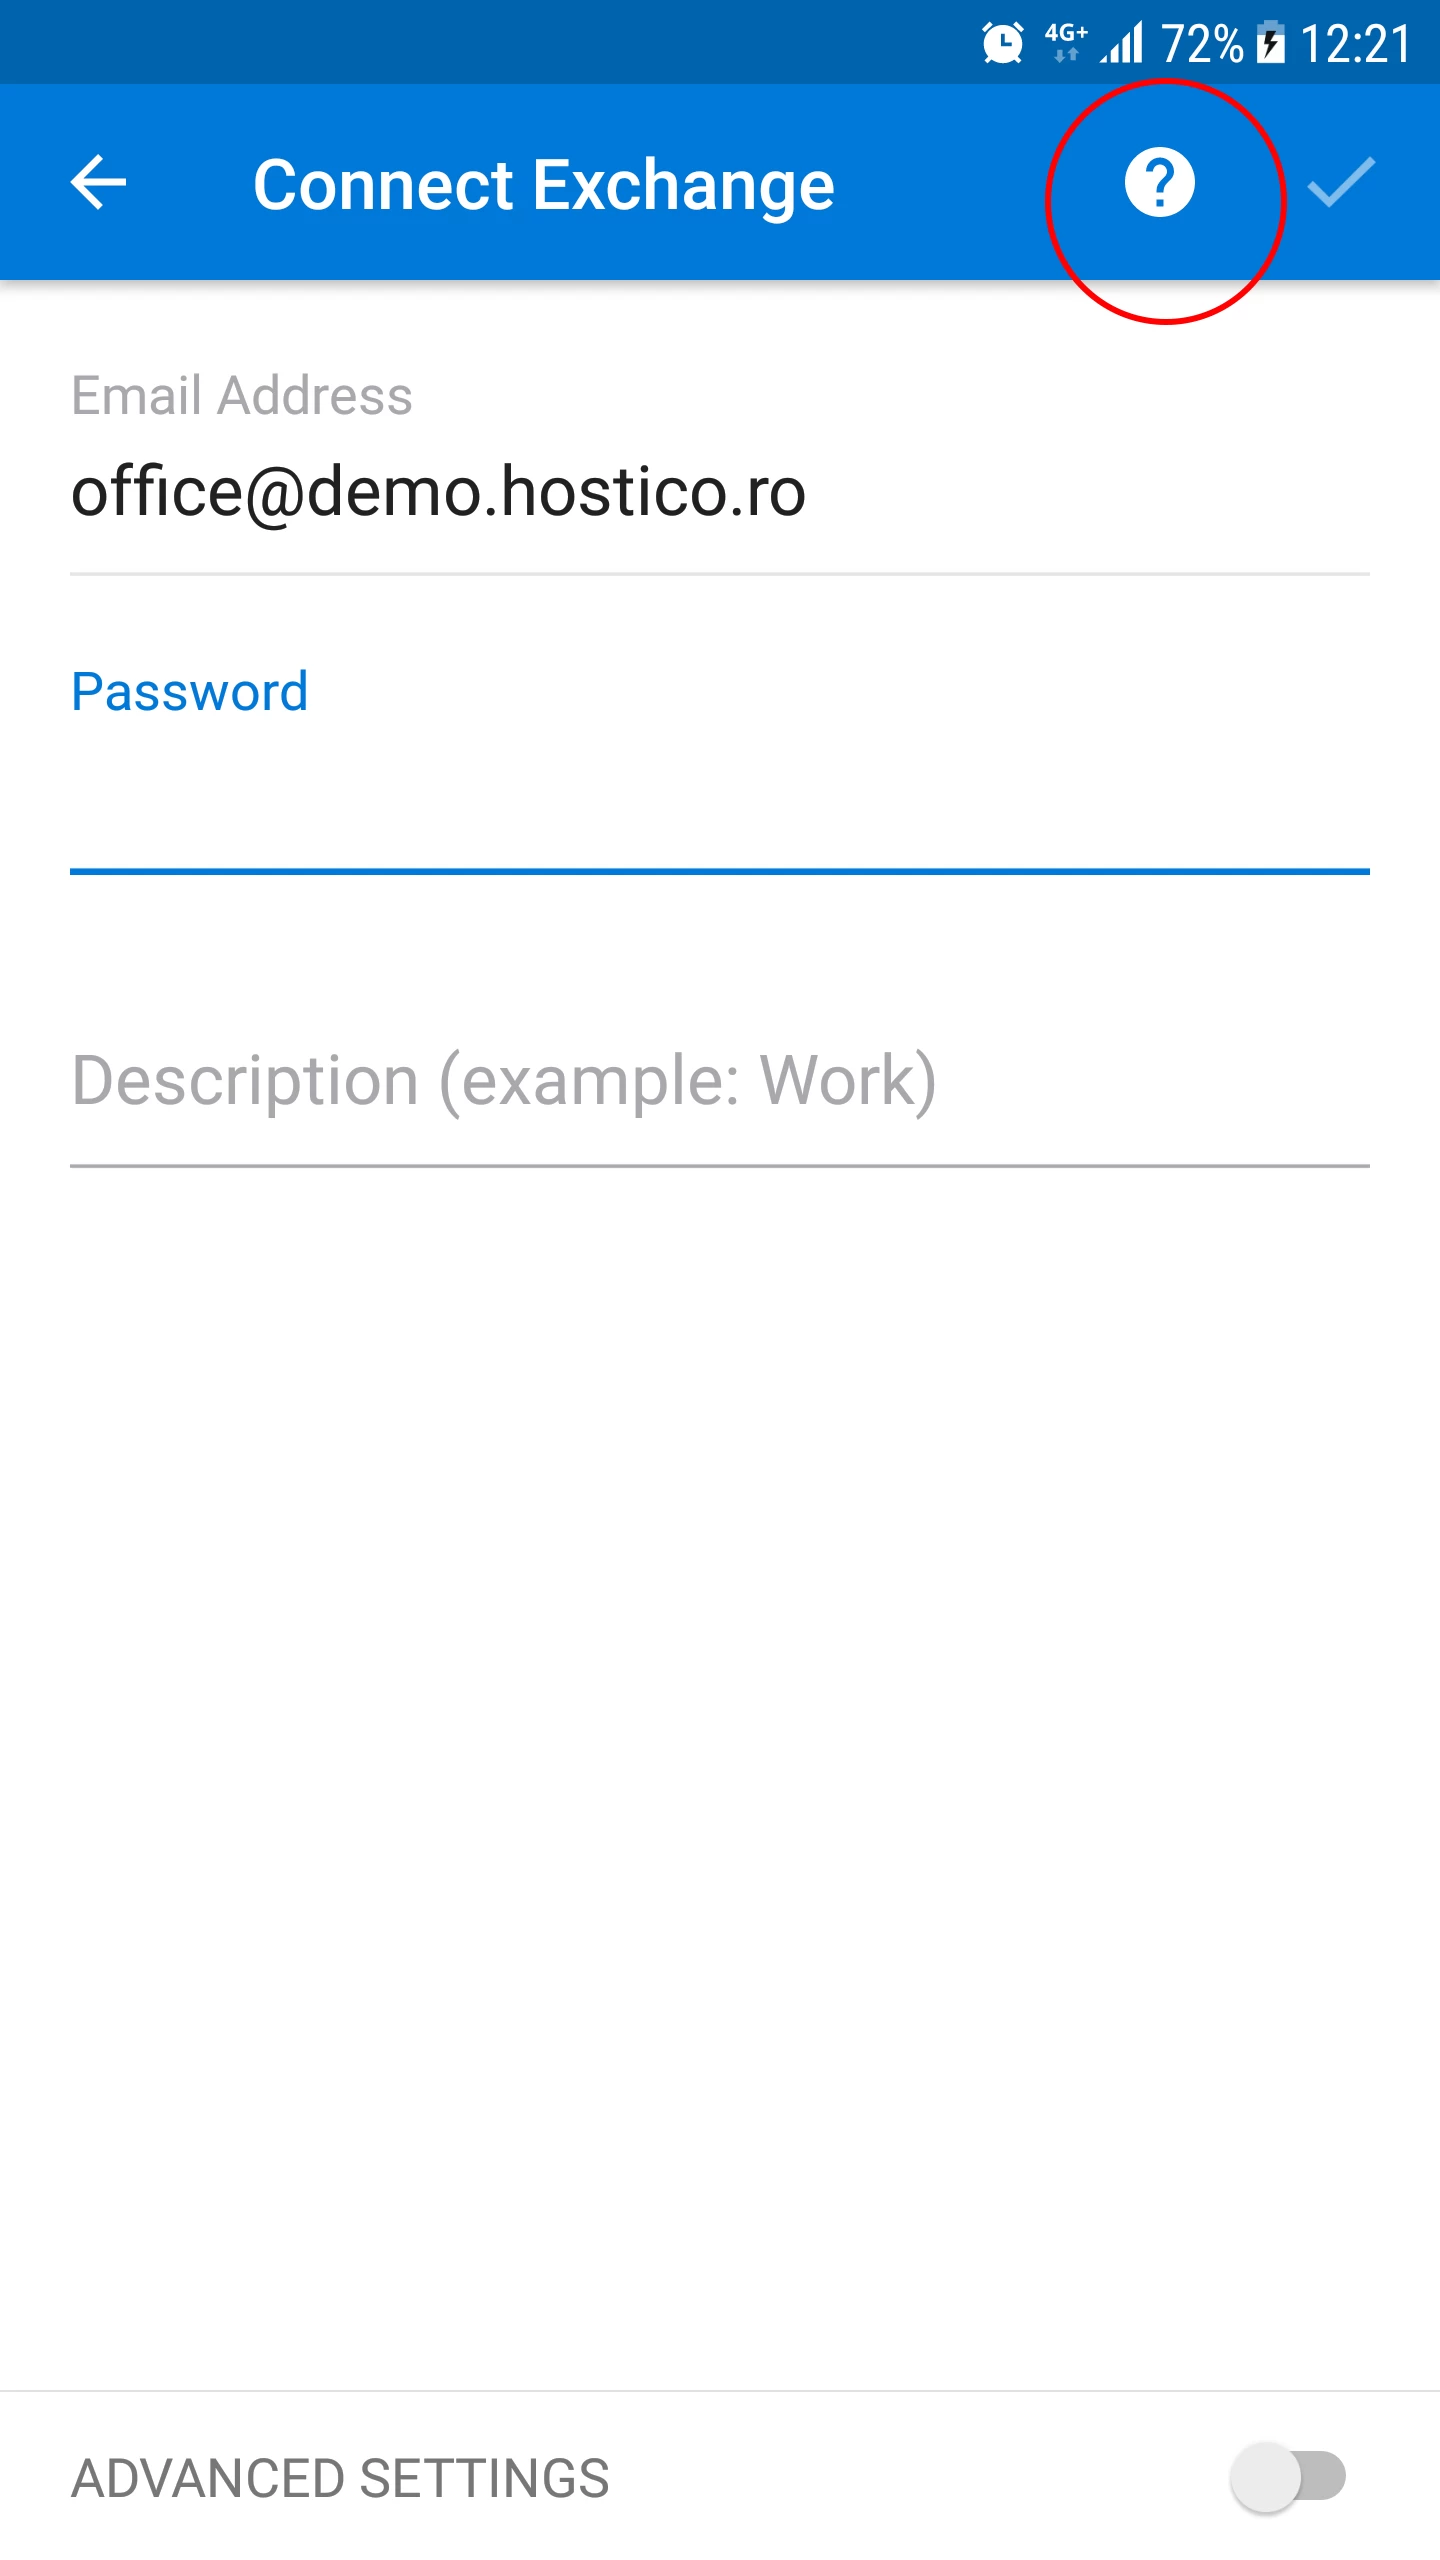
- If the application does not ask us to select the account type, we will need to do this manually. We will press the "?" symbol in the upper right corner.
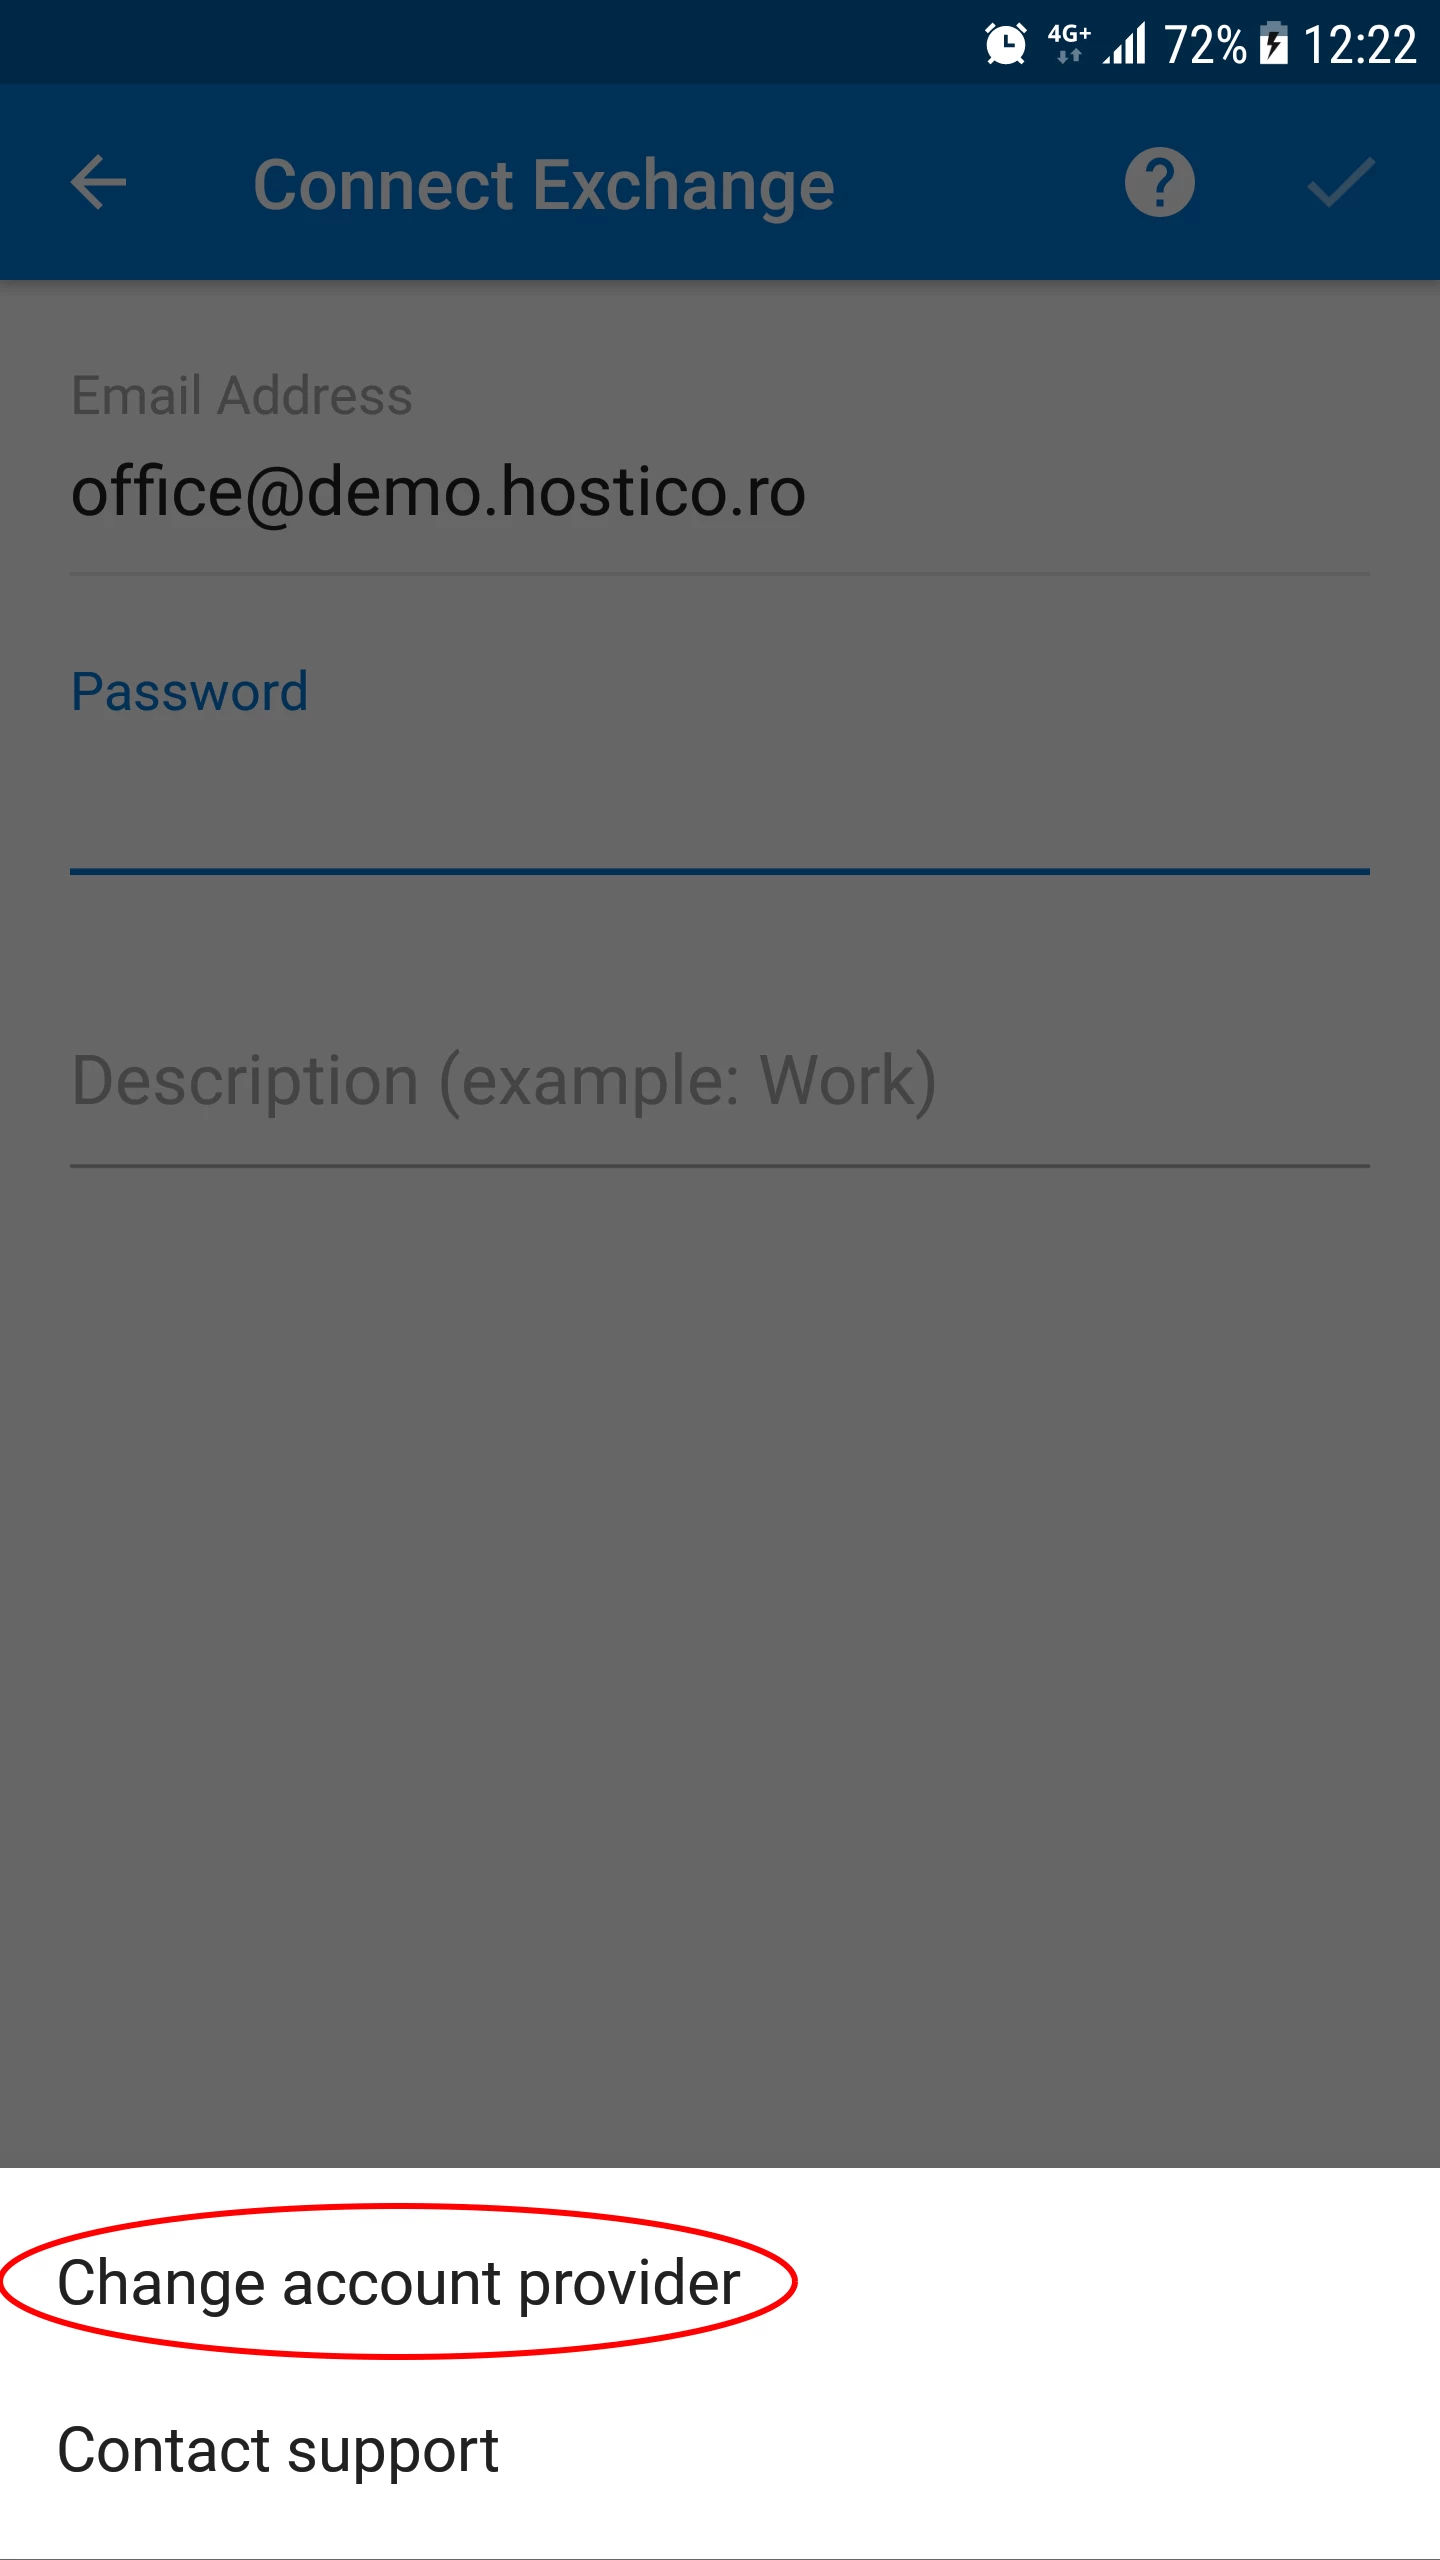
- From here we will click on Change Account Provider.
- In the next window, we will set the desired account type: Yahoo, Google, Microsoft Exchange, IMAP, etc. To configure an email box hosted on Hostico servers, we will select the IMAP option.
***Completion of optional steps***
- We continue setting up the email box.
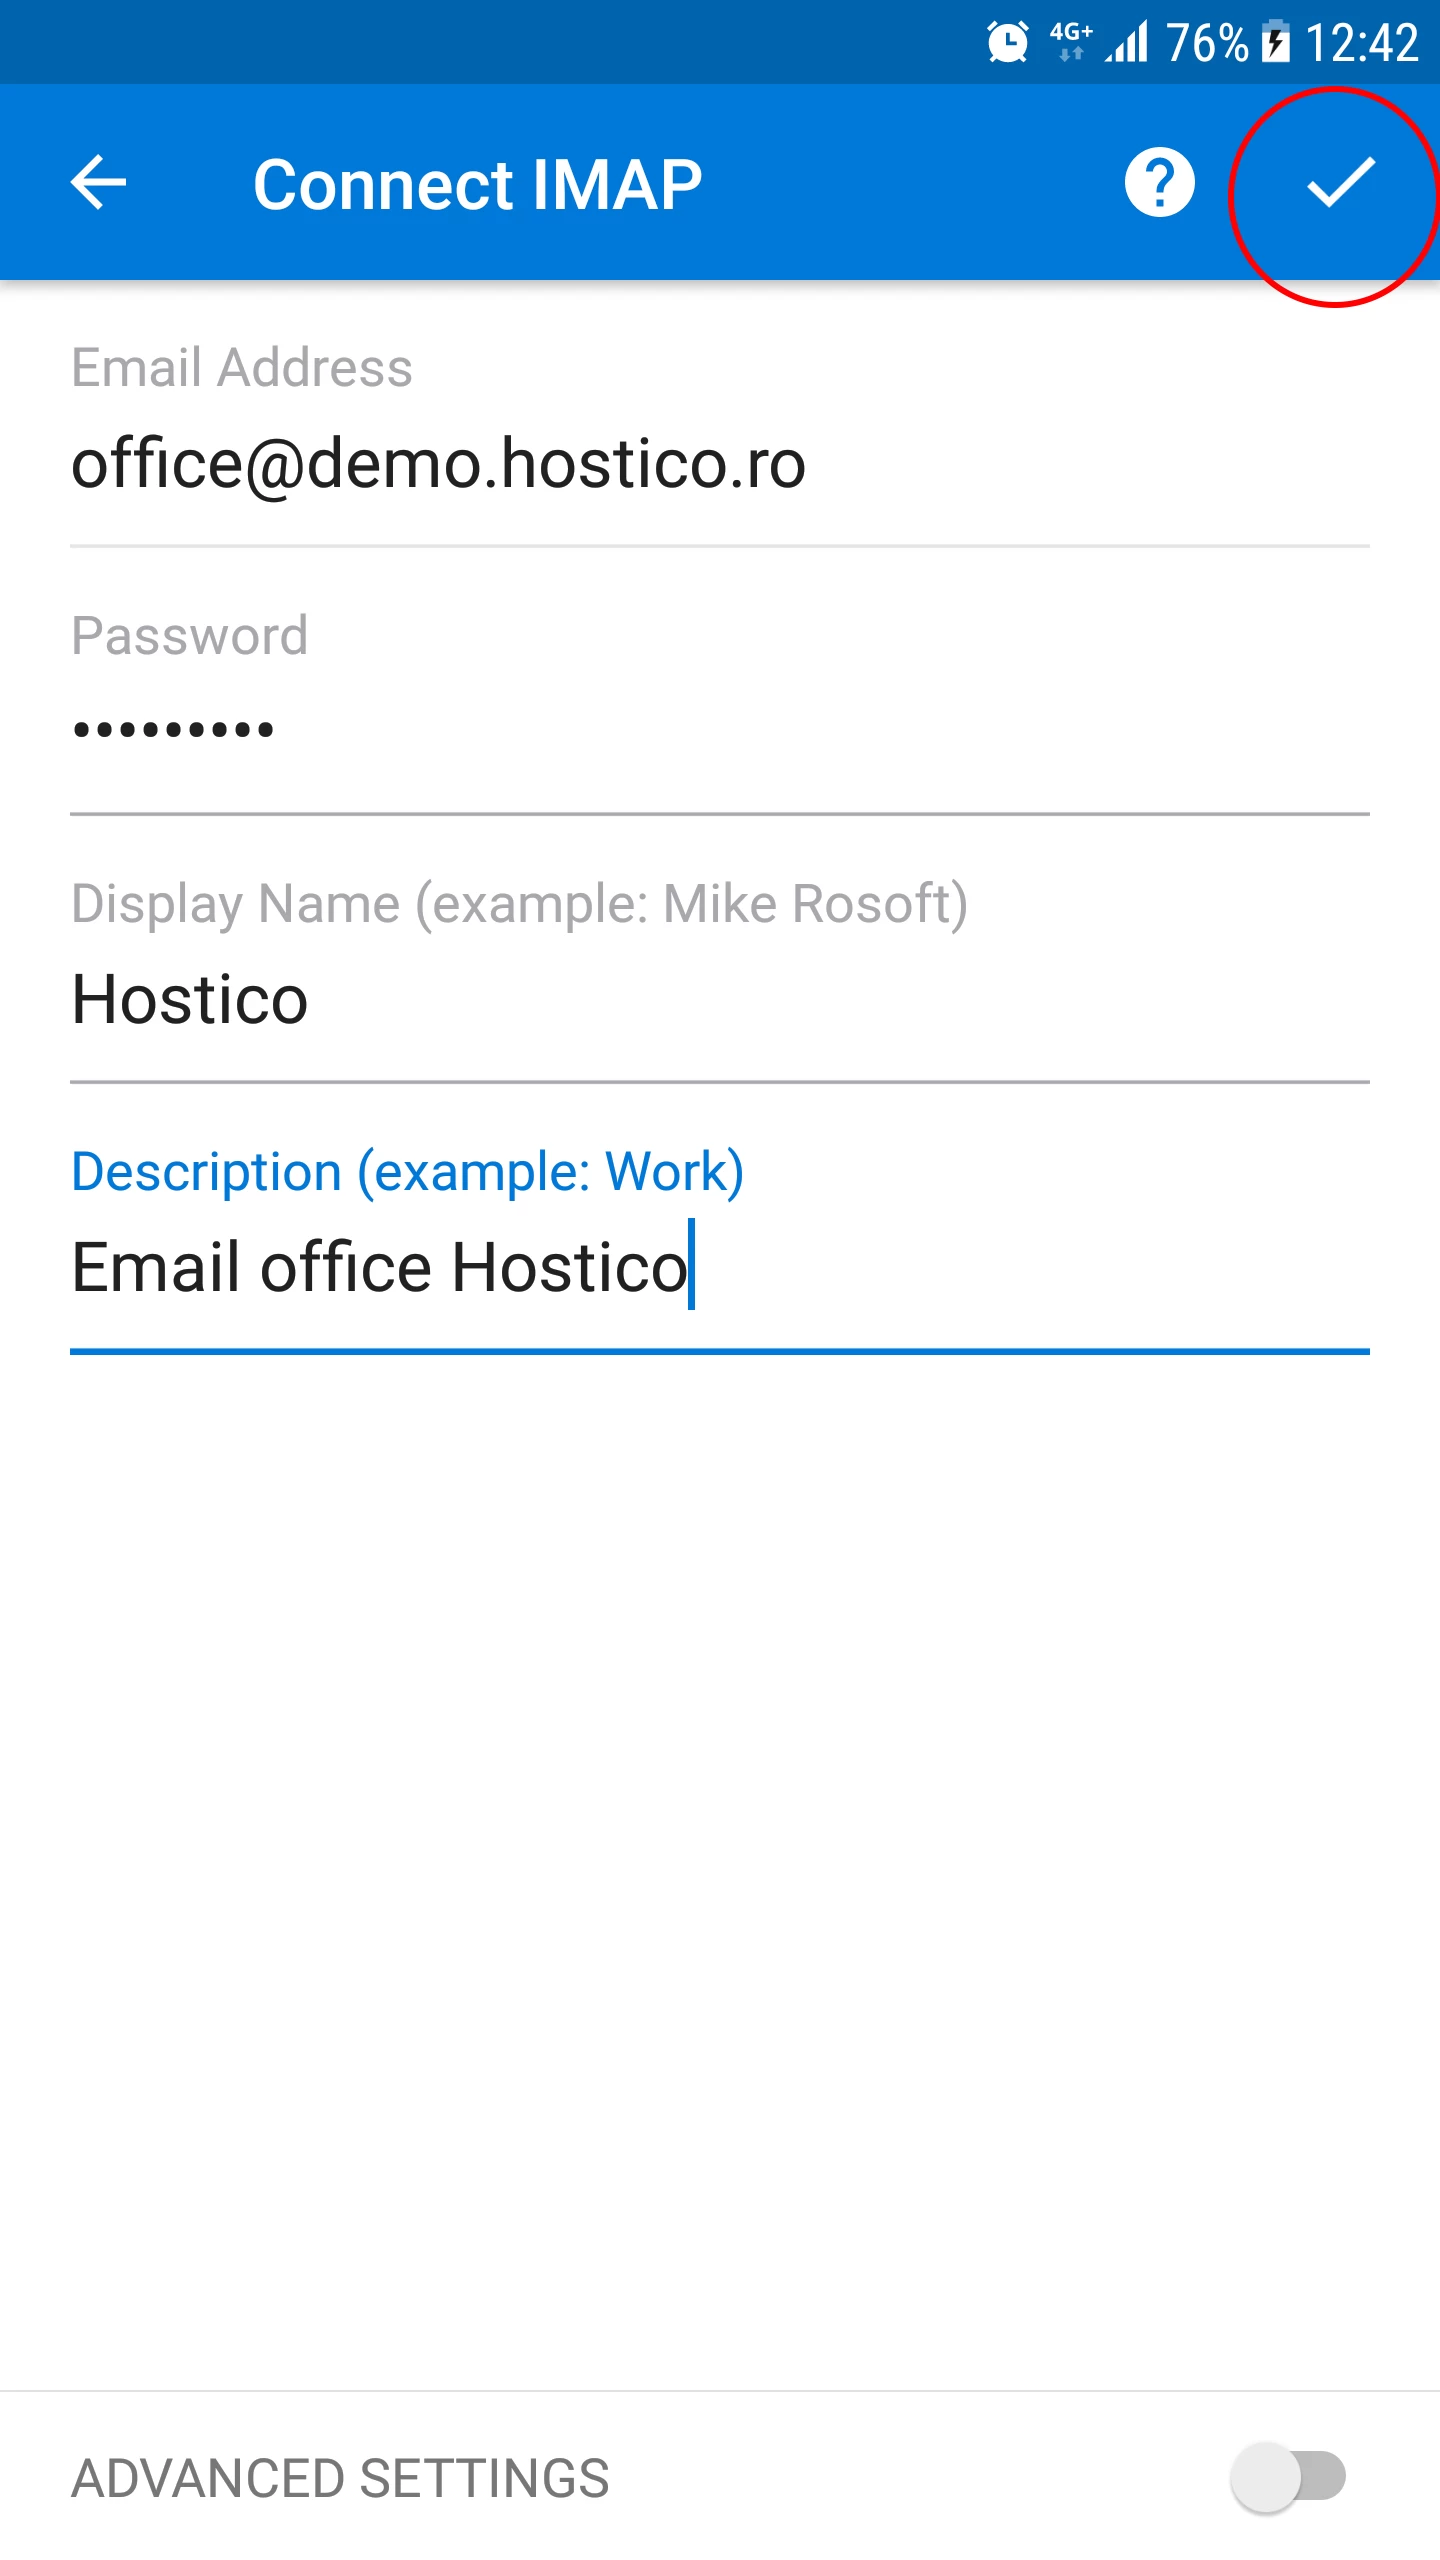
- In the next window we will be able to fill in the fields:
-Email Address -- the email box.
-Password -- the password for the email box.
-Display Name -- a name that will appear in the From field at the destination.
-Description -- a short description of the mailbox. - After filling in the fields, we will click the button with the symbol "✓", in the top right corner.
- If we receive a warning regarding the SSL certificate, we will press Accept Certificate.
- If everything went smoothly, we will be greeted with a success message.
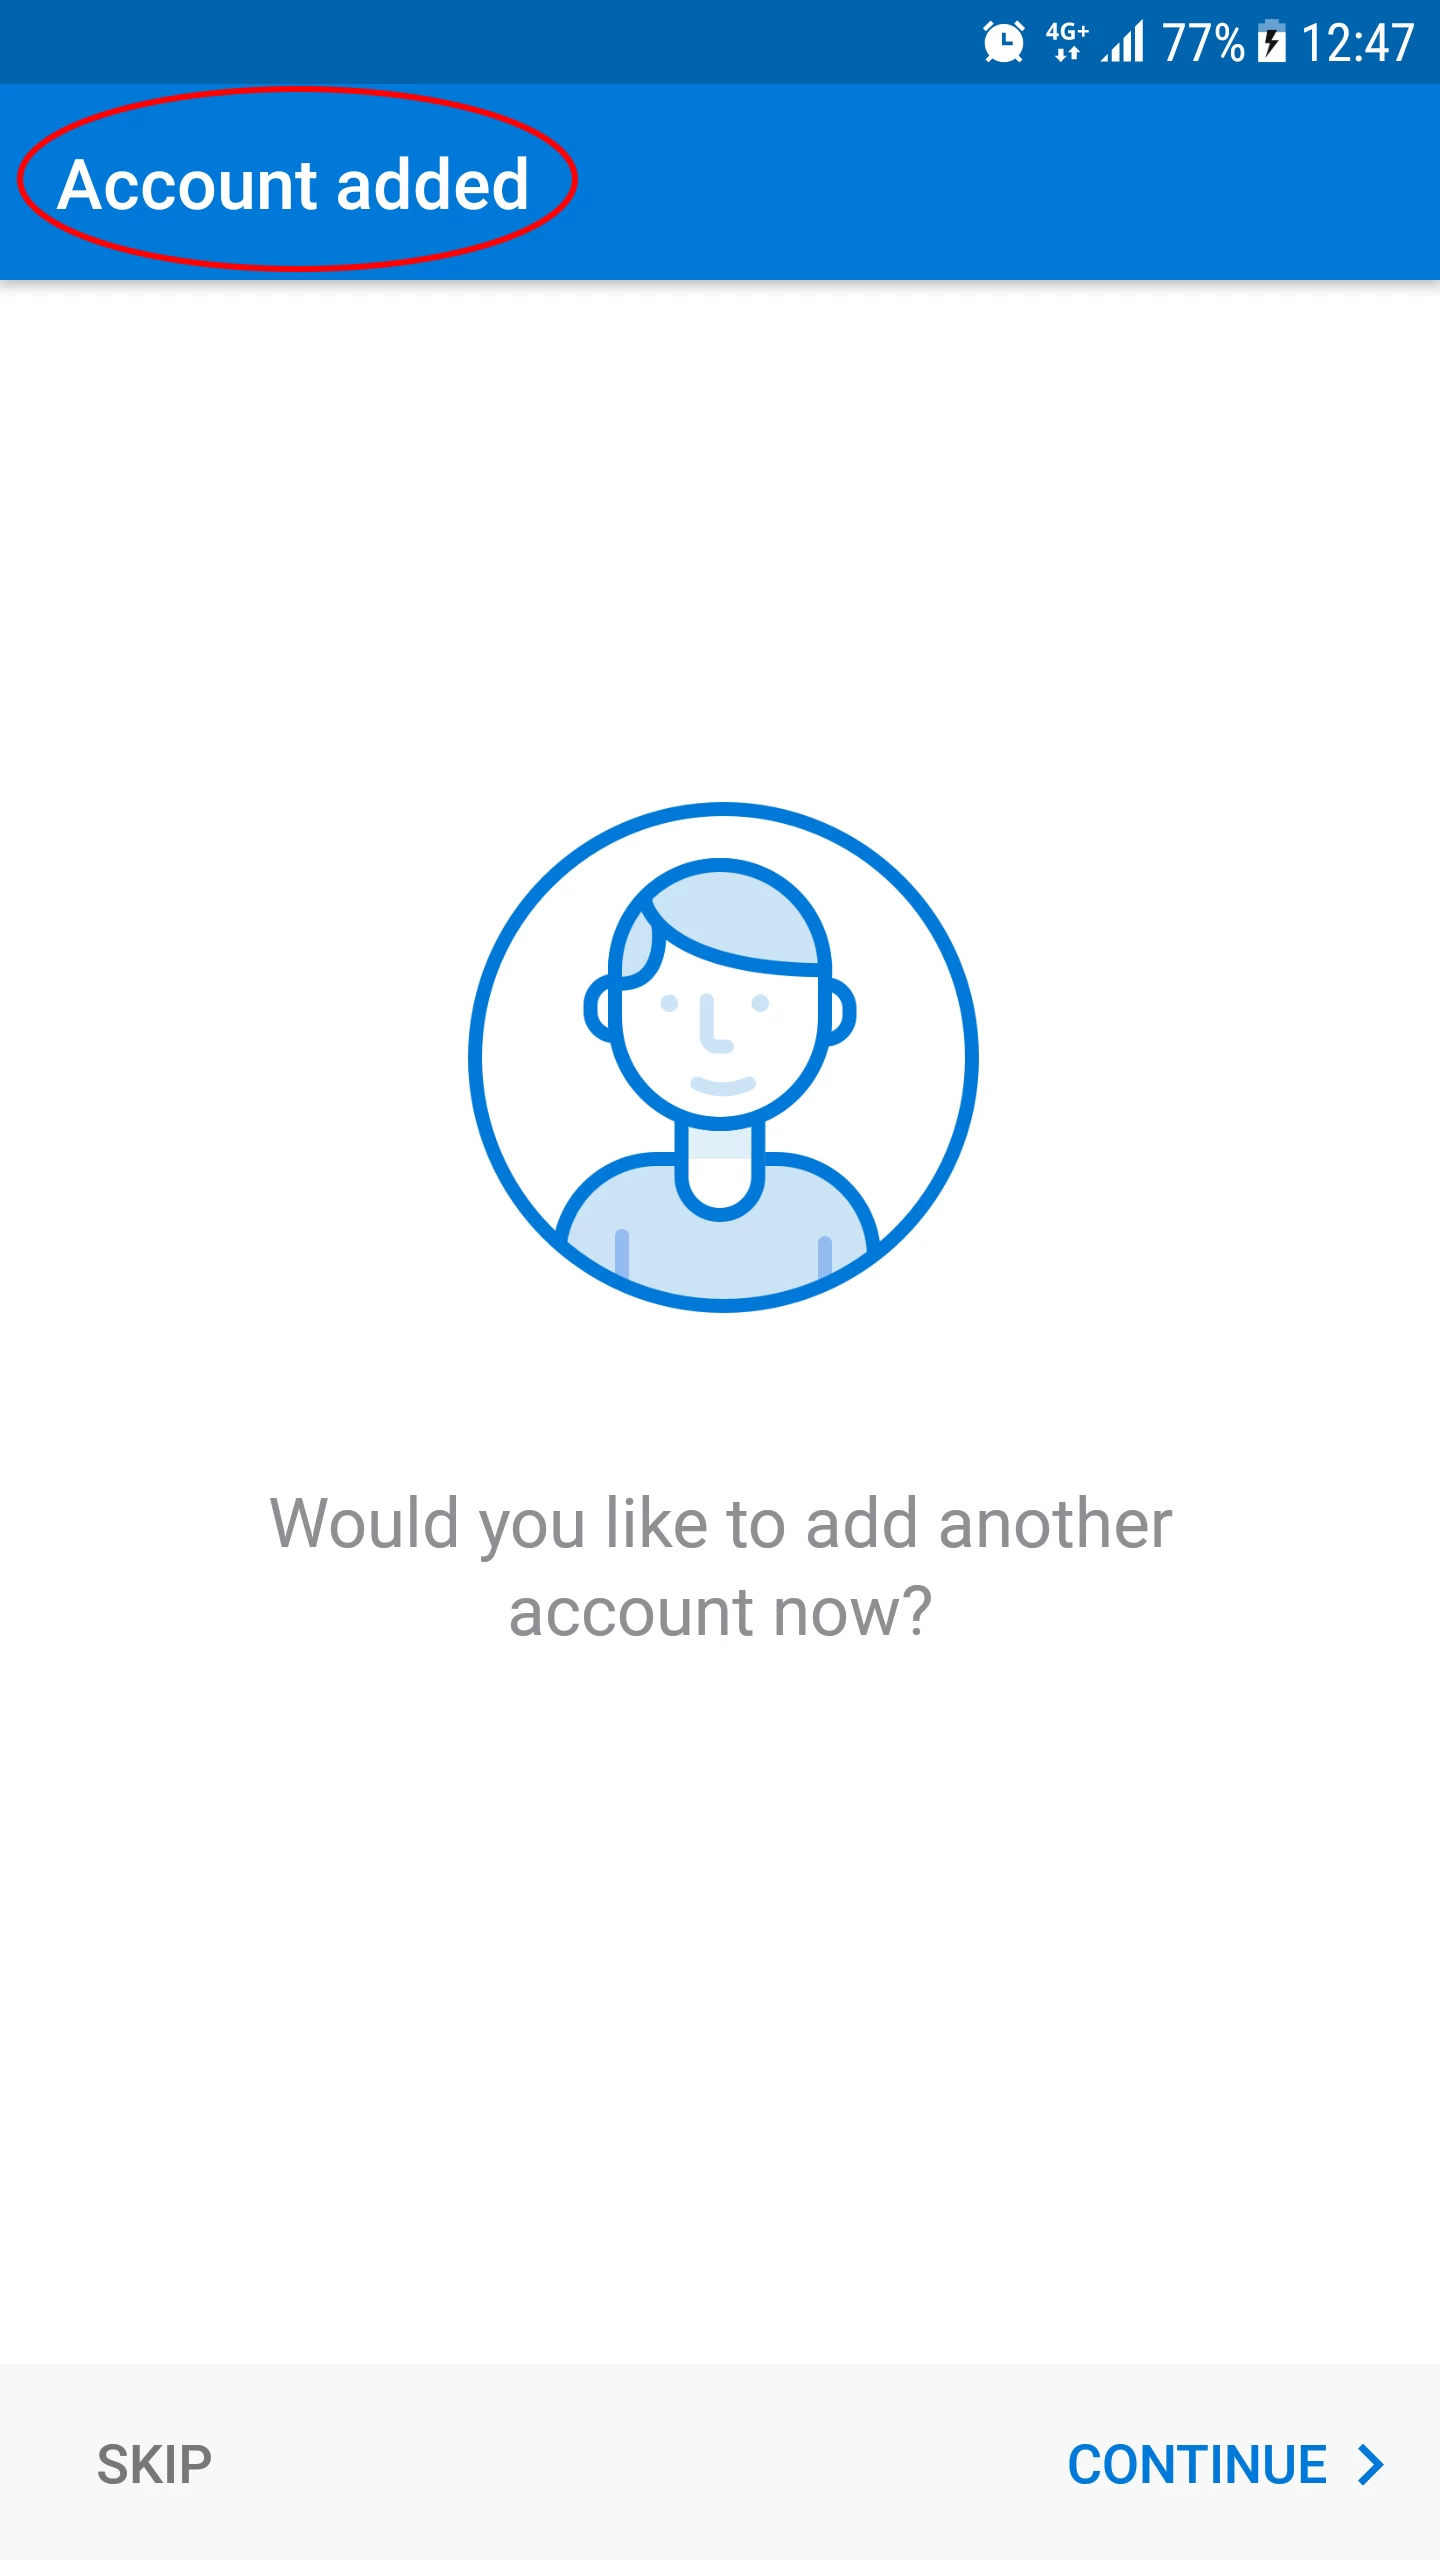
- To view the emails from the mailbox, we will click the SKIP button at the bottom left.
- A short tutorial on Outlook will appear. If we do not wish to follow this tutorial, we will click again on SKIP in the bottom left.
- Furthermore, we will be able to use the email box.